Happy Saturday! Today I want to share with you an activity that I do with my Kinders every week – twice a week, in fact. It’s part of the intervention program developed by my district, and it’s also part of the more widely known Reading Recovery program. I haven’t had the “official” Reading Recovery training, so it may look slightly different in that program, but here’s how I do our sentence cut apart activity:
Step One: Write the Sentence
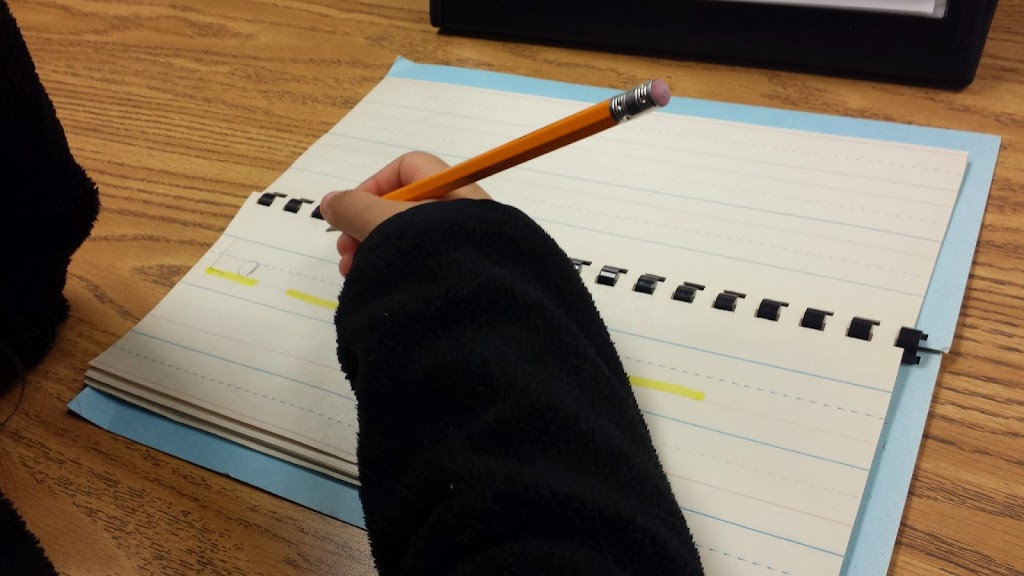
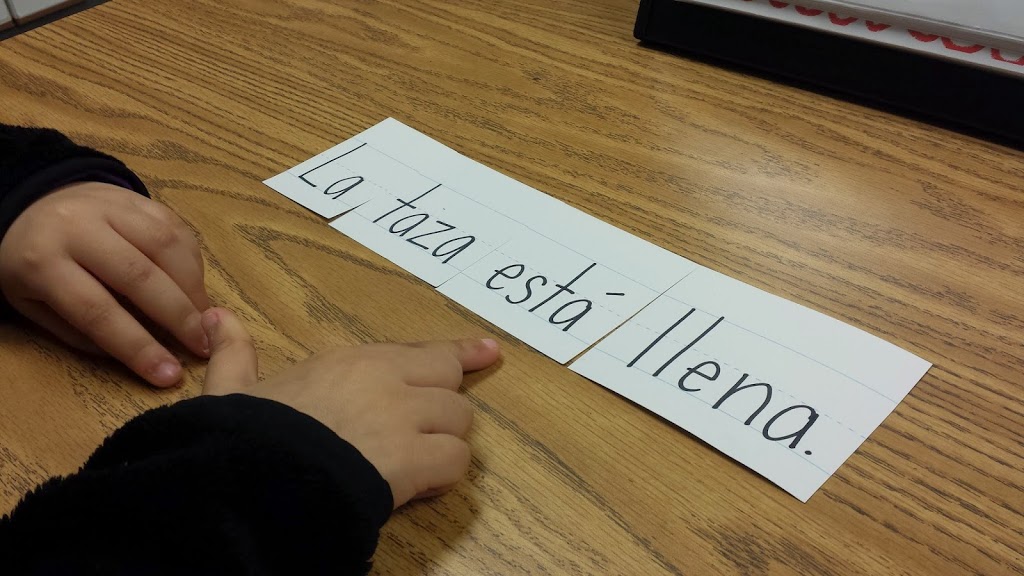
To start the activity, the student writes a sentence that I dictate to her. (You could also use a sentence that the child comes up with – this would make it even more meaningful!) I help with spelling, capitalization, and punctuation, but I try to get the child to do as much of the work as she can. {Note: These photos are going to show a sentence in Spanish that means “The cup is full.”}
As you can see in the photo, there’s a highlighted line for each word in the sentence. Before I give the child her pencil, I have her repeat the sentence several times to me, and the last time I draw a line for each word. This helps develop awareness of spacing and concept of word.
Once the lines are drawn, then we start writing. Every time my student finishes writing a word, I say to her, “Read me your sentence!” Many of my Kinders have trouble “holding onto” the sentence that I dictate, so stopping to reread helps them recall the sentence.
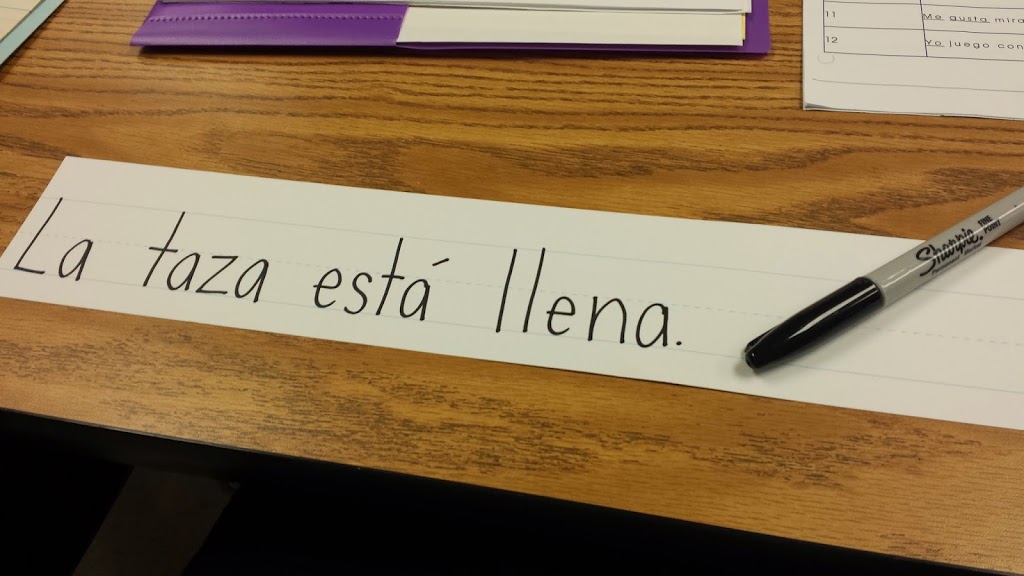
Step Two: Transfer To a Sentence Strip
After the entire sentence is complete and she has reread it again, I write the same sentence onto a sentence strip. As long as time permits, I have the child tell me what letters to write, where to put spaces, and where to put capital letters/punctuation.
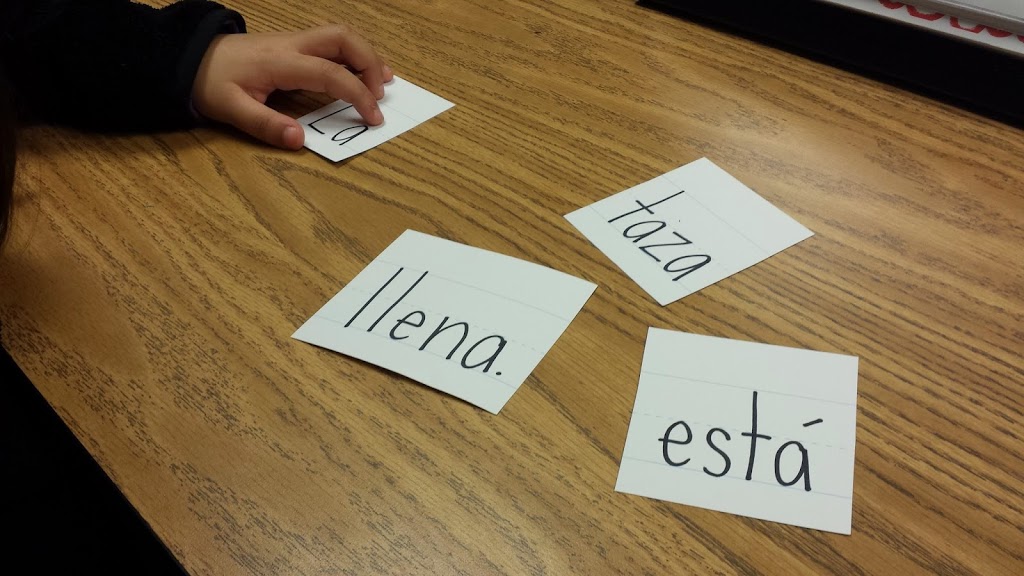
Step Three: Cut Apart the Sentence Strip
Once I’ve rewritten the same sentence on the sentence strip, then I cut it apart. Each time I cut, I say, “palabra,” which means “word.” It sounds a little goofy saying, “Word…word…word…word,” but I do this to develop concept of word – so that the child knows that every piece that falls onto the table is a single word.
Step Four: Put the Words Back in Order
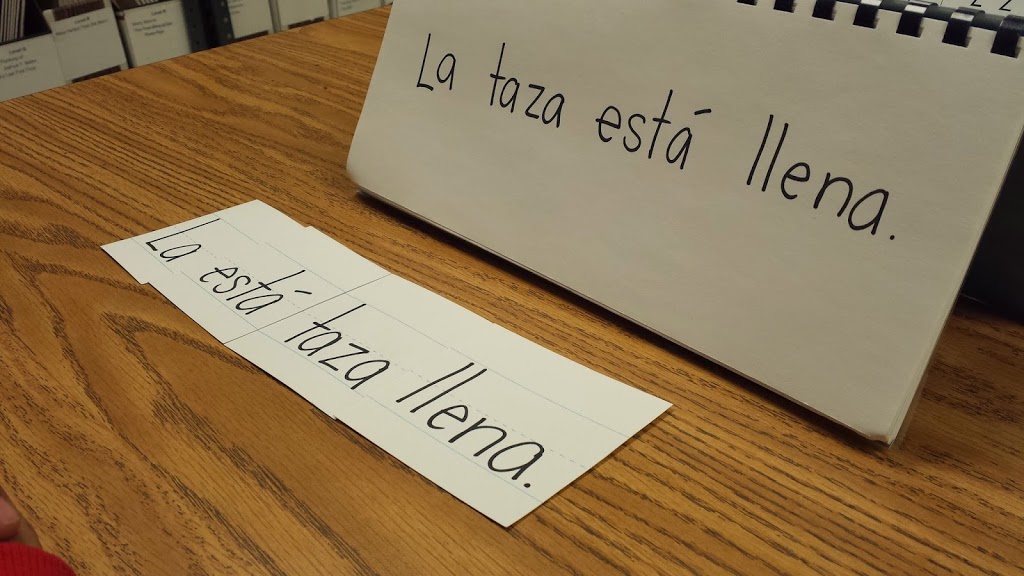
Once the sentence has been completely cut apart, it’s the child’s responsibility to put the words of the sentence back in order. I usually remain quiet during this part of the lesson and just watch to see what she does.
In the bottom photo here, the child has incorrectly put the words in order and is checking it against another version of the sentence that I wrote. I don’t usually say anything until the sentence is in the correct order, placing the responsibility fully on the child to correct any mistakes.
Once the words are in the correct order, I have the student read me the sentence again. I’ll then ask, “Can you hand me the word _____?” Once the child hands me the word card, I say, “How did you know that word was _____?” I’m trying to get the child to tell me something about the print that helped her recognize it (such as the first letter or syllable). I’ll do this for 2-3 words, leaving a high frequency word or two left on the table. Then I’ll ask, “What word is that?” and have the child read it to me.
Step Five: Save the Words for Future Practice
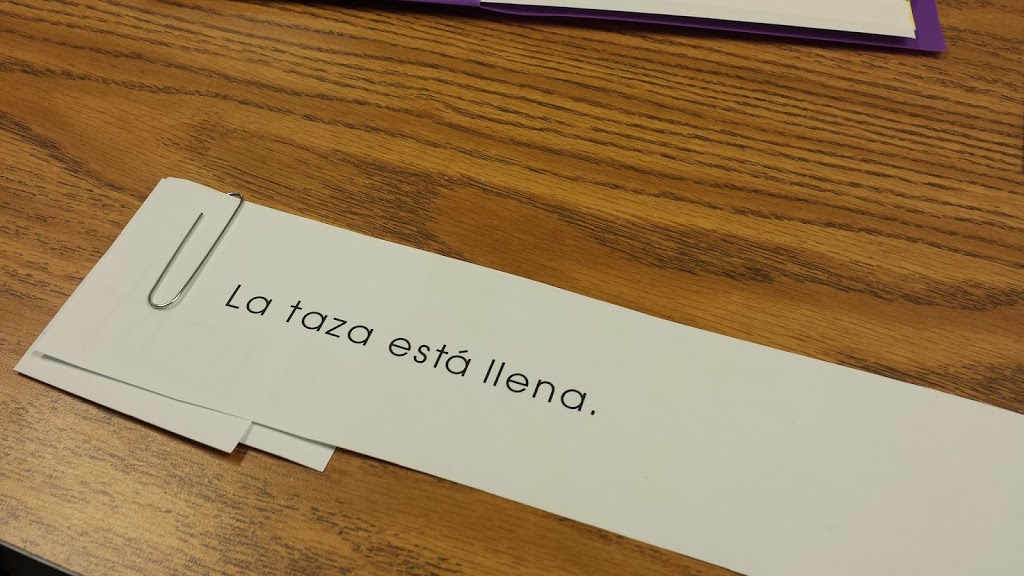
Once all of the words are off the table, I paperclip them to a strip that has the complete sentence written on it. The child can take the sentence home and put the words in the correct order independently or for her parents.
All done! This should take about 10 minutes altogether.
Using this Activity in the Classroom
If you’re a classroom teacher, you might be wondering how you could use this activity, since it requires a lot of one-on-one attention. It certainly is easier to do it with just one child, but you can also do it with a pair of students or even a small group.
When I do it with 2 children, I have them write the sentence in the same way (as described in Step One). Next, I write it on a sentence strip, having them take turns telling me which letters to write. These first two steps are the same. But then, I have a pre-prepared, cut-up sentence strip ready that I give to one child, and I give the other child the sentence strip that we just cut up. They both work to put the words in order independently, and finally I ask them both to hand me words once they are finished.
If you do this with a small group, you’d have to decide on a sentence ahead of time so that you could write it on sentence strips and cut up the words. Everything else could stay just about the same.
This simple activity teaches so many different skills! It covers phonics, concepts of print, decoding, and more. Have you done this with your students before? Do you have any tips to make it easier to accomplish with a small group? Share your thoughts below!






Pick a sentence from a story you are using for guided reading.
I can jump five times.
Hello! Love the idea but the one suggestion I have is to make sure and leave spaces between each word so the table shows when reassembling the cut up sentence. This helps reinforce the idea that there needs to be spaces between words. It also helped my student distinguish between letter and words.
Yes!! I am not sure if I was doing that at the time that I wrote this, but I always do this now. Thanks for your comment!
Alison
The words are on one cut out. This is to read a sentence not to distinguish spaces. That ocmes with writing class.
Loved this activity! I’m currently student teaching in the Dominican Republic and I am working with my first graders on fluency practice. I have quite a few struggling readers so we just started with pointing to words as we read and putting sentences back together. I’d love to build up to the dictation and writing portion as they gain confidence 🙂 Thanks for the share!
I’m so glad! Thanks so much for reading! 🙂
Alison