Getting Kindergarten, first grade, and second grade students to have an opinion is not a difficult task! They love to argue about “the best” and “their favorite” things quite often! You probably hear students talking about:
- the best pet to have
- why they deserve extra “free choice” time in the classroom
- their favorite book from the school library
- the best season throughout the year
It’s easy for most young students to verbalize their own opinions to anyone who will listen! So if they can talk about their opinions, what are some fun ways to get them writing about different opinion topics? The good news is that in this blog post, I’m going to walk you through the exact process I take to teach opinion writing.
Types of Writing
Before we dive into opinion writing specifically, let’s take a step back and look at different types of writing. For Kindergarten students, first graders, and second graders, I cover the following genres:
- Narrative Writing
- Opinion Writing
- Informational Writing
In order to cover these genres with young writers, I rotate between a couple of options for each type of writing:
- The first option is through a Writing Workshop model. Students are taught how to brainstorm ideas, pick a topic, plan, and write about it. Among the genres listed above, examples could be a personal narrative, a persuasive letter, or a how-to book. This is not an unstructured writing time – it follows the gradual release model and includes plenty of practice time.
- Another option is to have students respond to writing prompts. In this case, there is a specific question given to students.
In this particular blog post, I’m going to focus more on teaching opinion writing through a writing workshop approach. (If you want to read more about prompt writing, check out this blog Writing Prompts for First Graders: Topics & Tips for Success.)
Now, let’s dive into the process I use to actually teach opinion writing!
Process for Teaching Opinion Writing
Sometimes it can be hard work to get students going on an opinion piece! Often I’ve found that students will just write a sentence or a couple of sentences and say, “I’m done!”
That’s why it’s important to set them up from the very beginning (before the drafting step), so that when it’s time to write the piece, they have more than enough to say. The process for teaching opinion writing outlined in my units will set students up to be successful.
Brainstorm
One helpful tip is to have students brainstorm a list of possible opinion writing topics at the beginning of the unit. You can also provide them with some type of prompt or question. Here are some examples I provide to 2nd grade students at the beginning of the opinion units.
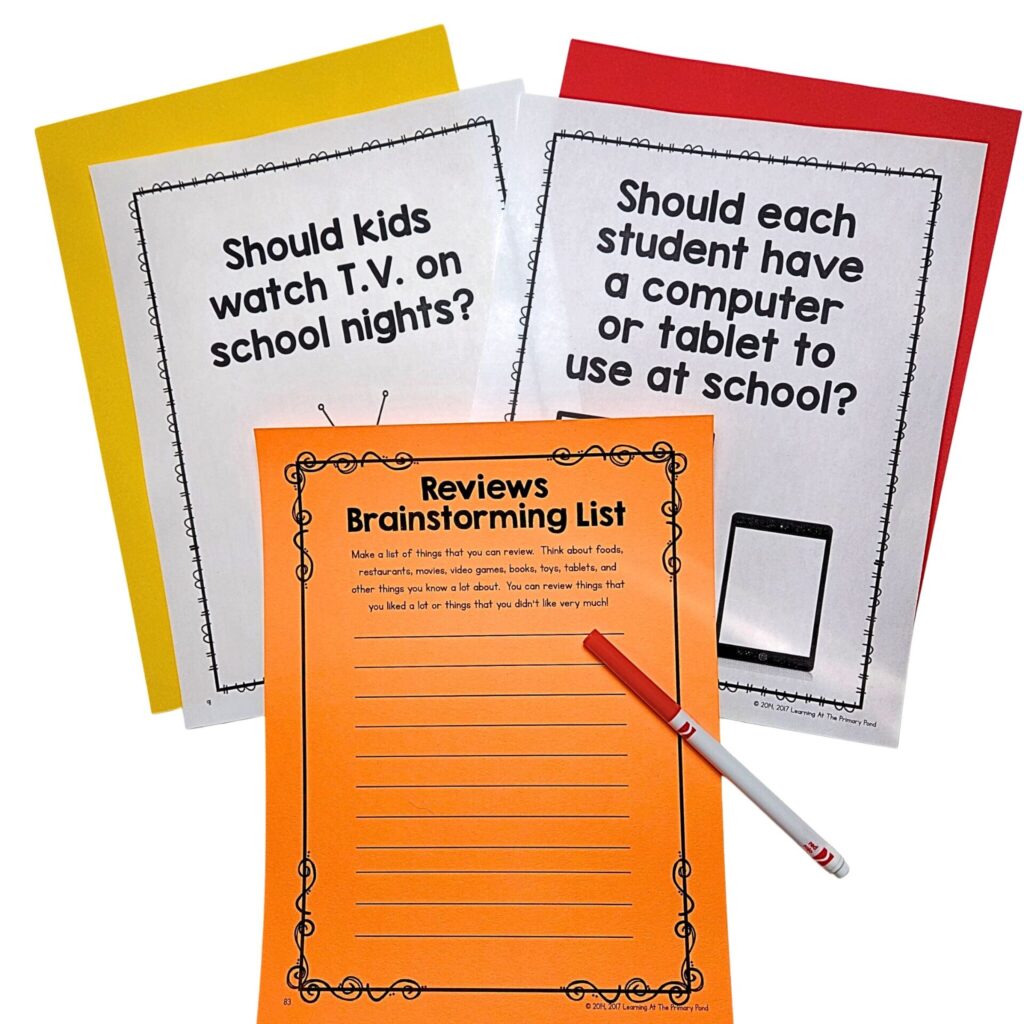
I try to pick questions that they’d have strong opinions about! They think about the questions and talk with partners about their ideas, starting to develop their own point of view. Having an open dialogue to simply brainstorm and discuss the opinion writing prompts allows their creative juices to flow!
Plan
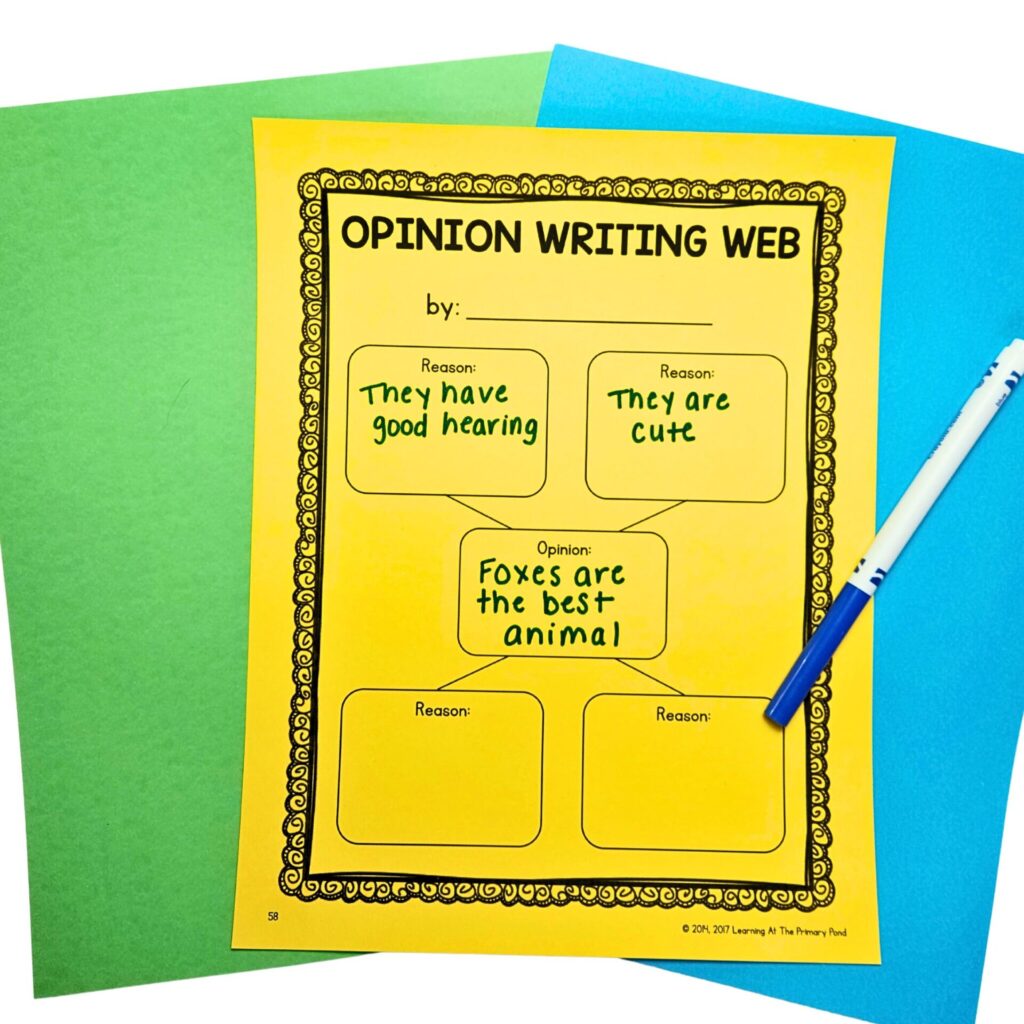
Once students have had a chance to brainstorm many ideas, the next step is putting a plan in place. Before students actually begin writing a piece, they should lay out and organize their ideas ahead of time. This helps them take the long lists of things they brainstormed and narrow it down to the strongest points. Solidifying a strong plan will make it easier to actually start an opinion writing piece.
One way to do this is through graphic organizers. This particular one comes from a 1st grade opinion unit.
Drafting
Once the plan is in place, students can now transfer that to writing paper to create a persuasive essay or letter. In my writing units, I lay out how to do this in a step by step process.
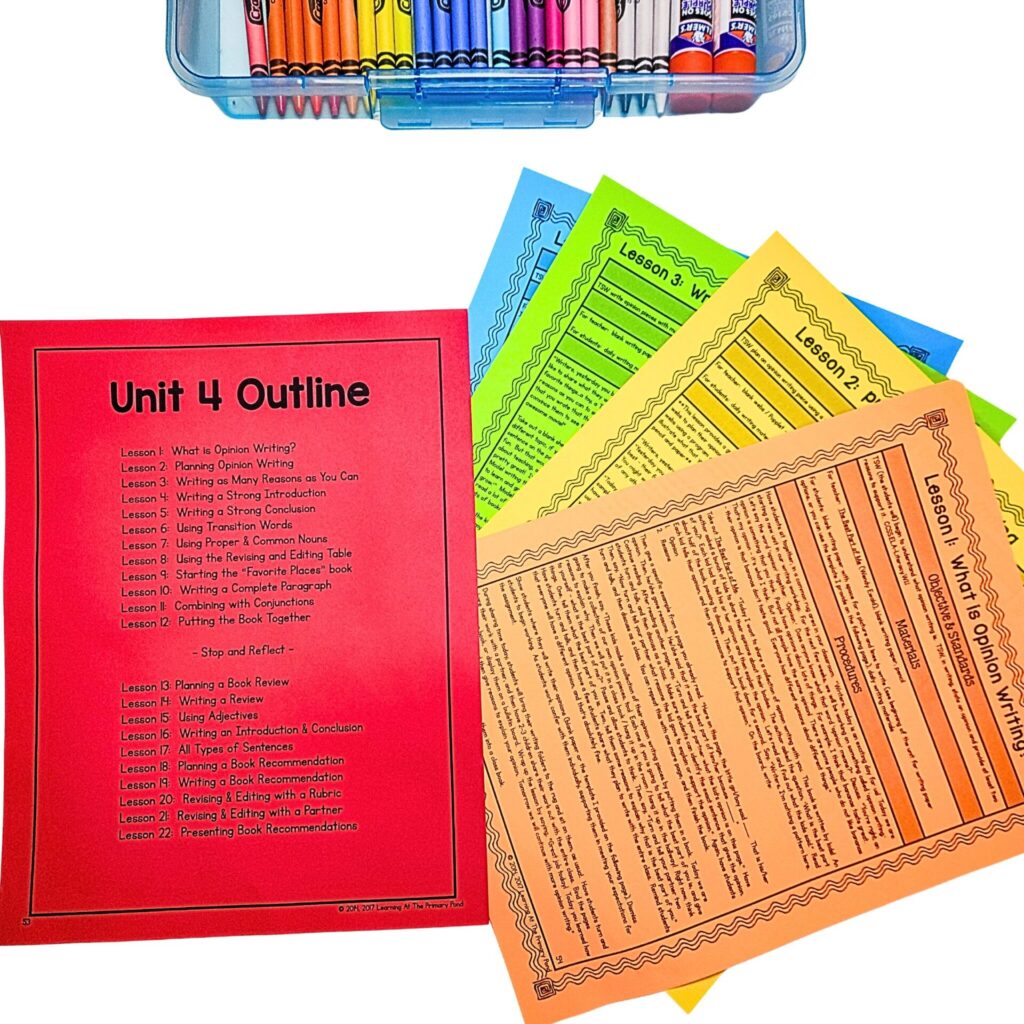
The first lesson might teach students how to transfer notes from their graphic organizer onto a piece of writing paper. There might be a separate lesson about adding details or transition words. One lesson may be on how to write a strong closing sentence. Overall, I start small with students and then teach them how to build on and improve their writing.
In all of my writing units, the topics are outlined for you. Also, lesson plans are included so that you don’t have to guess about what to teach or how to teach it!
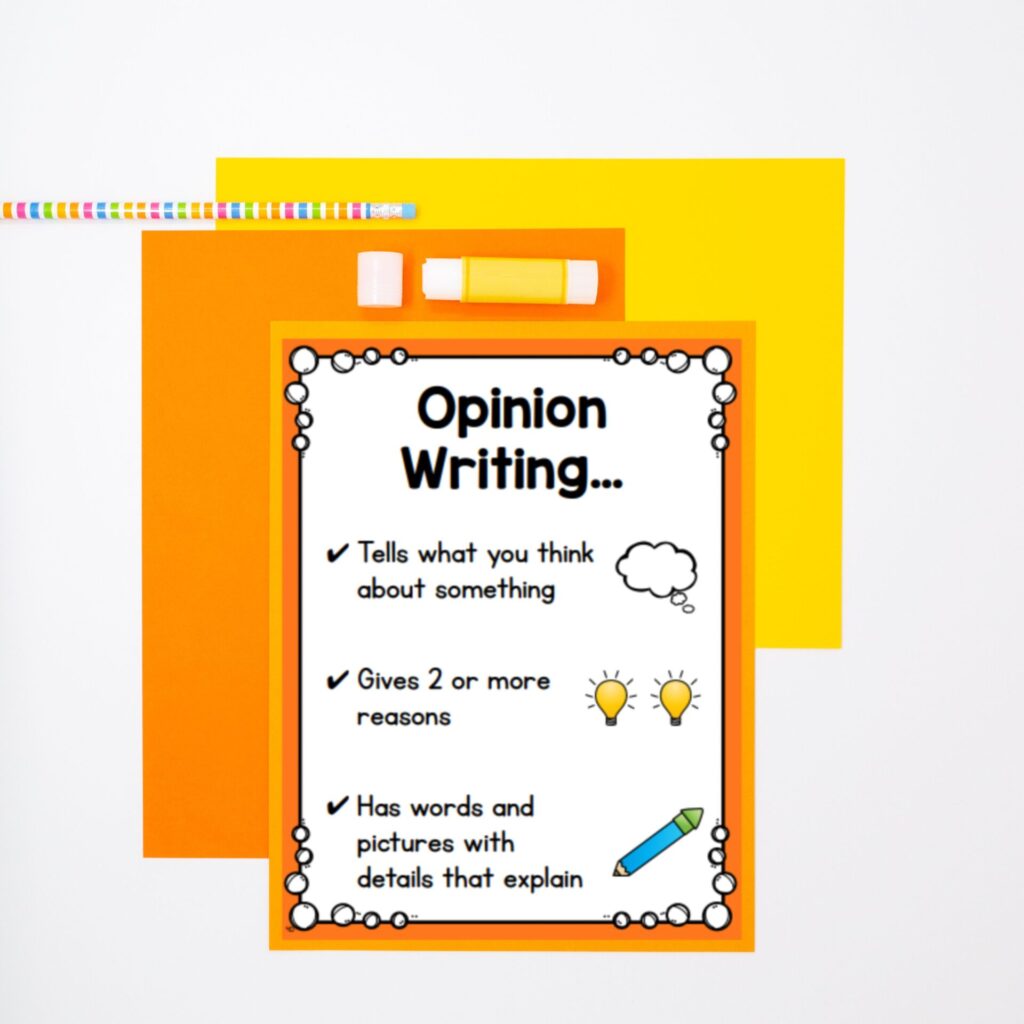
Anchor charts are also included in the writing units so that students can refer back to them as needed.
Differentiation
You most likely will have a range of student abilities as you teach opinion writing. It can help to have differentiation already included within the resource, which my writing units do include! Some students may need handwriting lines, more drawing space, etc. Here are some different versions of writing paper:

Another way to differentiate is to include sentence starters.
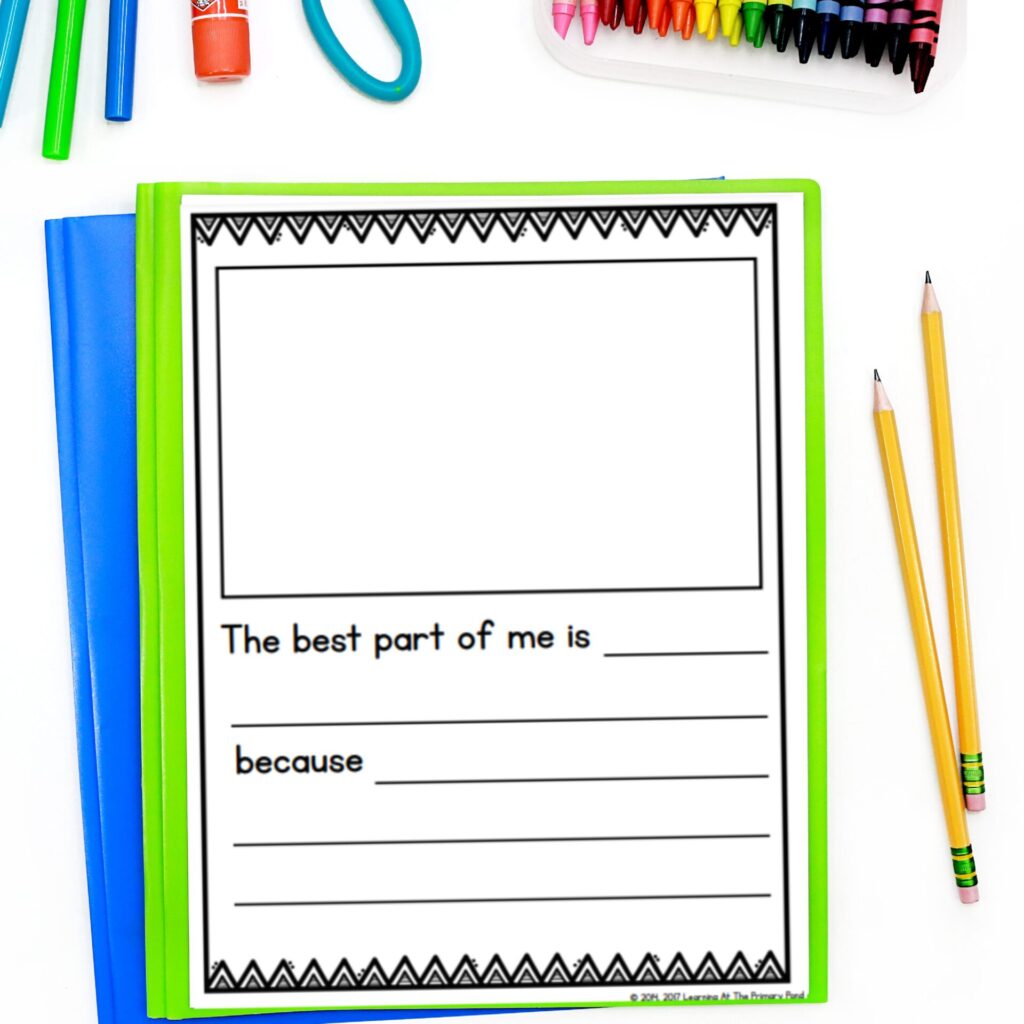
This allows a bit of scaffolding to help students along the way.
Editing & Revising
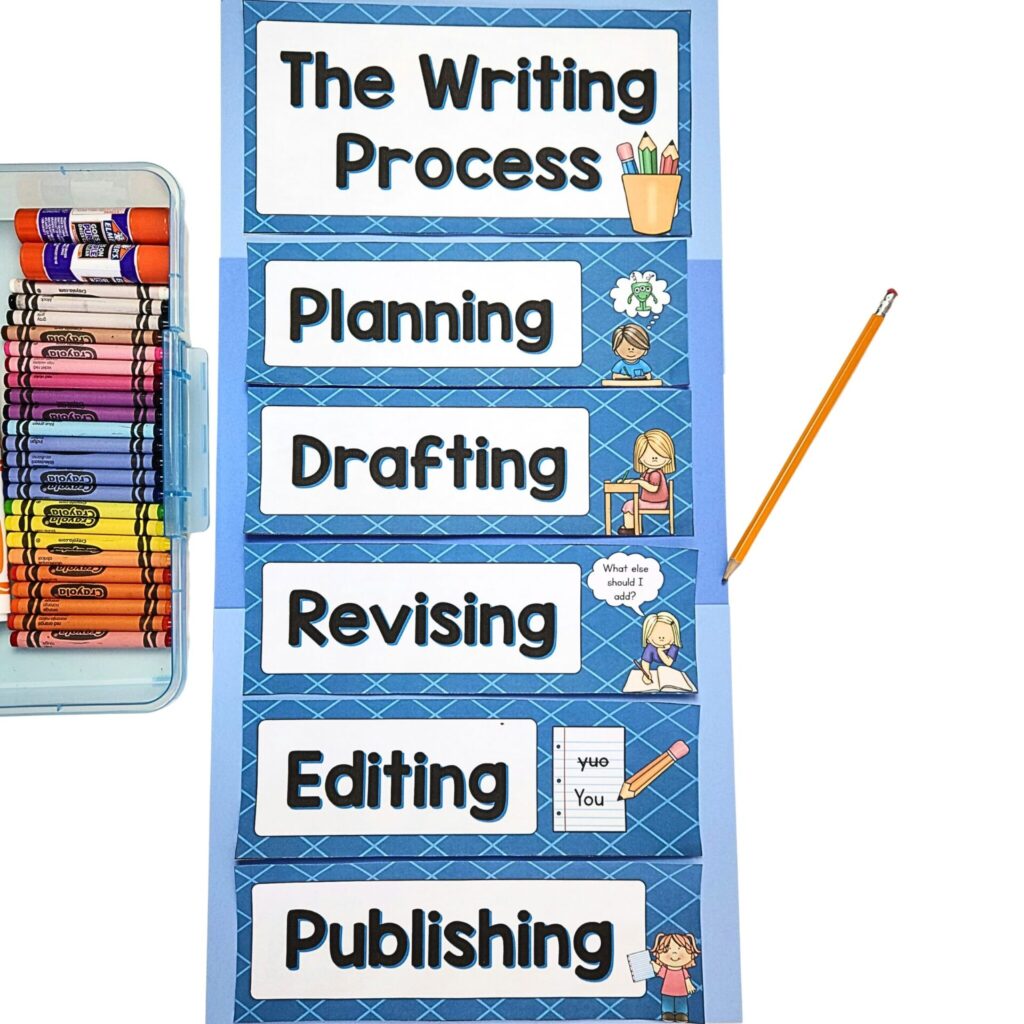
Once students have finished a piece, it’s always a good practice to have them edit their own work. Here is an example of a resource students can use to remind themselves of the editing process.
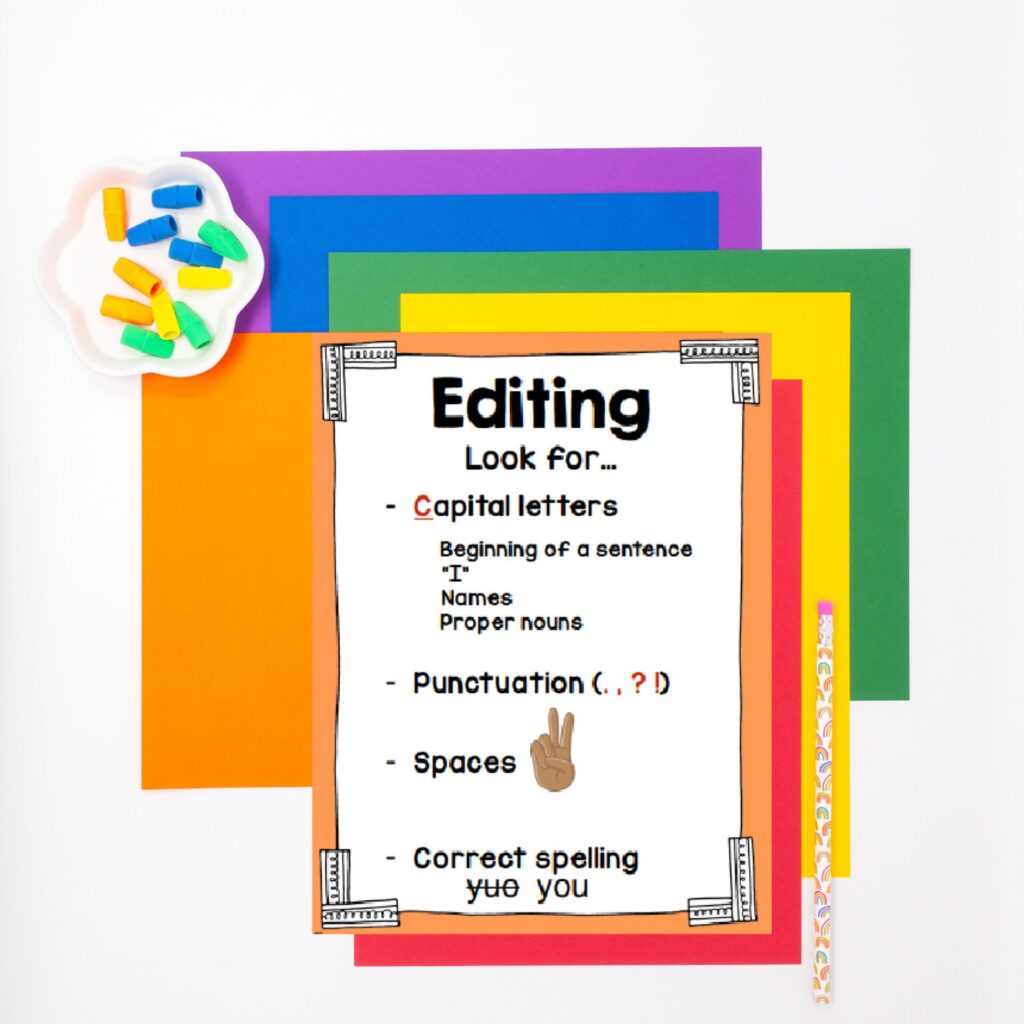
Publishing
Once students have put forth their very best piece of writing (whether this is an opinion statement, a few sentences, or an entire opinion paragraph!), a final step in the process is to have students publish their work. The last day of each unit is devoted to having students do this. It can be fun to make it a celebration, like a “Popcorn and Publishing” party.
Reflect
As students are working through a piece, students can use rubrics to self-evaluate. At the end of a unit, you could also fill out a rubric to identify students’ levels of proficiency.
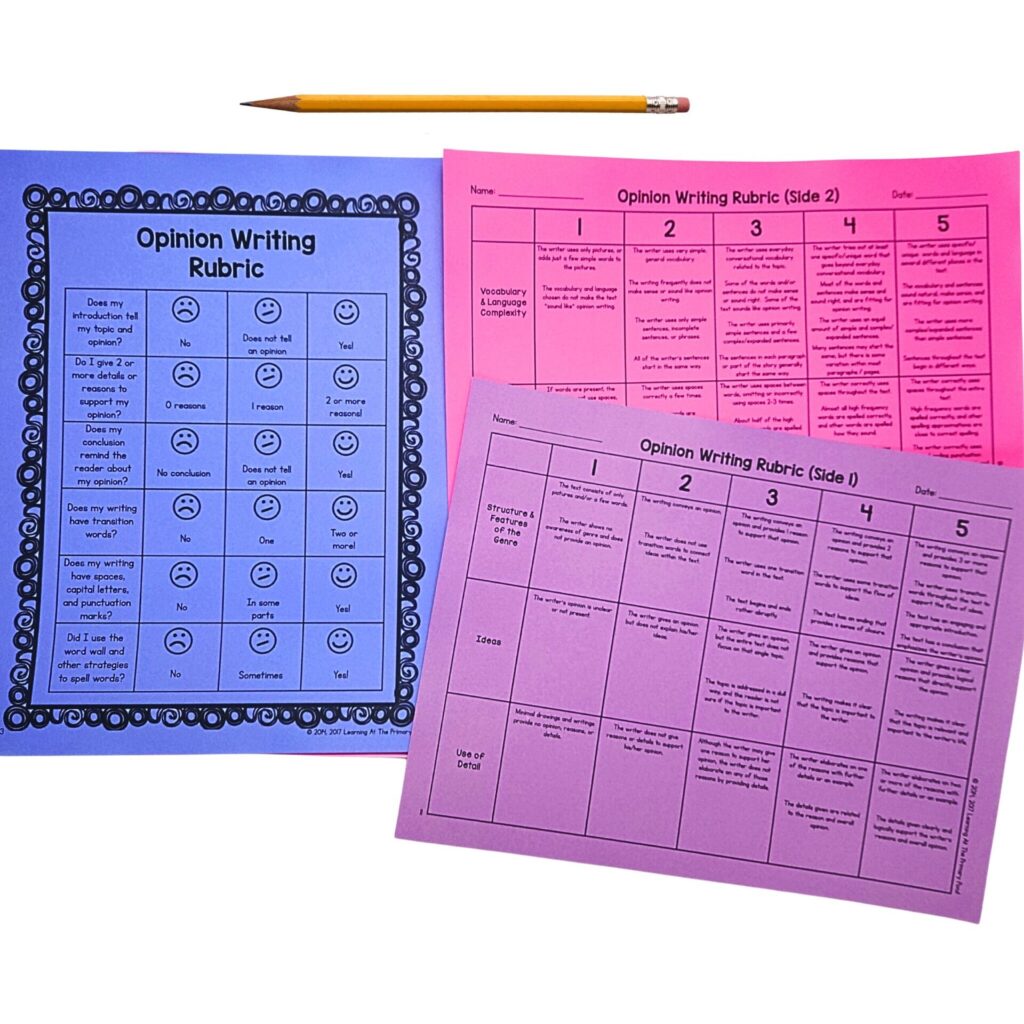
Daily Schedule for Teaching Opinion Writing
Now that we’ve covered the overall writing process for teaching opinion writing, let’s go into a bit more detail on what the daily schedule for teaching opinion writing is.
Writing workshop opinion lessons for Kindergarten, first grade, and second grade students usually last about 30-45 minutes each day. (This includes the lesson and practice time.) If you have less time, however, you can still use this approach – simply shorten the amount of practice time students get.
Mini-Lesson & Model:
First, students will participate in a mini-lesson, which takes about 10 minutes. You’ll begin the workshop by gathering your students in a common area of the classroom – a rug with easy access to dry-erase boards or interactive whiteboards. A mini-lesson is usually structured by the teacher first introducing or re-introducing a new skill/concept. During the mini-lesson, the teacher first introduces a new skill/concept and then explicitly models it.
Having that modeling portion is crucial! If students can see it in action, they’re much more likely to be able to do it independently. Sometimes there are mentor texts or an anchor chart used during the mini-lesson (which would be explained/included in the unit itself!) Students should participate in some guided practice, too, where they are assisting the teacher or working with a partner.
Independent Writing Time:
My writing workshop units use a gradual release model so that students see modeling, have some guided practice, and then have independent work time. During independent writing time, students have a chance to take what they learned about in the mini-lesson and actually apply it to their own writing piece.
There are a variety of ways to make the most of your time while students are independently writing:
- Move around the room to informally check-in with students. After a few minutes, you might ask for all students to give you their attention for a moment so that you can share something wonderful you noticed a student doing, or give a quick reminder related to the mini-lesson.
- Another option is to pull a small group to work with. You may have to re-teach the mini-lesson or maybe you’re reviewing a past writing skill.
- Some teachers may want to formally confer with students. This provides a structured 1:1 time with you and individual students to meet, look over their work, and offer support.
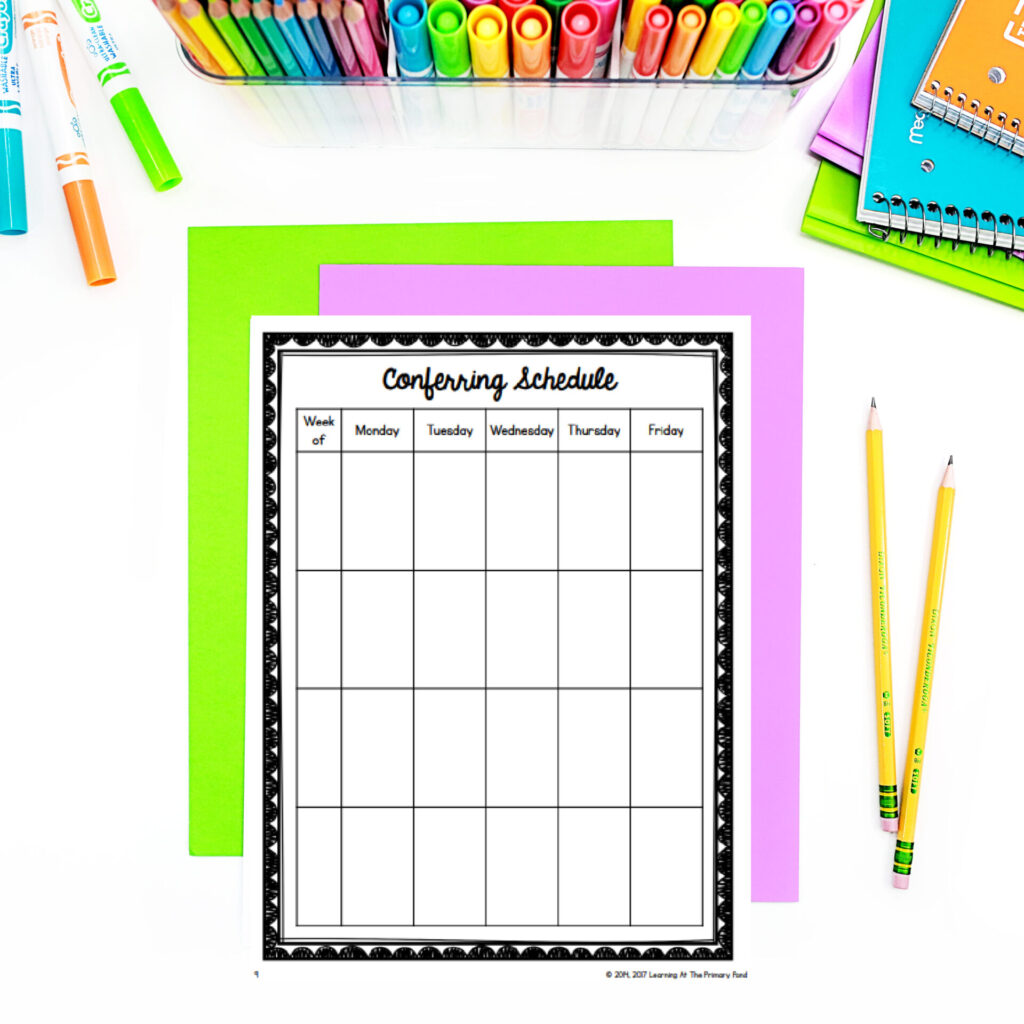
Sharing/Wrap-up:
If time allows, students should have time to share in different ways. It could be reading part of their piece to a partner. Or you may pick 1-2 students to share aloud to the entire class. This really helps them validate the importance of their work. You could also spend 1-2 minutes wrapping up what was covered in the mini-lesson earlier in the day.
Example Lesson for Teaching Opinion Writing
Let’s go through a specific lesson from one of my Kindergarten opinion writing units. For a little bit of background, the prior lesson had students listening to mentor texts (“I Wanna Iguana” by Karen Orloff or “Click, Clack, Moo, Cows That Type” by Doreen Cronin) to provide examples of writing persuasive letters. The teacher and students then collectively brainstormed and made a list called “Things We Want to Change.”
Here’s how the mini-lesson for “Writing a Persuasive Letter, Part 1” is structured:
- Say “Writers, yesterday we made a list called ‘Things We Want to Change.’ Today we will start writing letters to try and make those changes happen. What we’re going to do is go down the list and read each item. After we read an item, you’ll tell me who you would write the letter to if you choose that topic. Let’s take a look at the first one.”
- Read aloud the first item on the “Things We Want to Change” list. Say “If we wanted this to happen, who could we talk to? Who would we ask?” Go through the entire list, asking children each time who they would write the letter to. Possible answers include principal, assistant principal, teacher, parent, grandparent, sibling, custodian, etc.
- After you’ve finished going through the list, show the letter-writing paper. “Writers, you’re going to use this paper to write a letter to one of these people about one of these topics. Whenever you start a letter, you have to say who the letter is for. Here on this top line, I’m going to write ‘Dear Mom,’ because I’m going to write to my mother.”
- Model writing “Dear Mom” on the line for the greeting.
- Then, have each child decide on his/her topic and to whom he is writing. Have them tell you what they will be writing on the greeting “Dear ______.”
- Next, say “Writers, now you need to tell the person you’re writing the letter to what change you want to make. For example, I would like to help my mom cook. So I will write, ‘I want to cook with you.’”
- After you’ve modeled this, have each child tell a partner about the change that they want.
Here’s how the independent portion for “Writing a Persuasive Letter, Part 1” is structured:
- Once students have shared with a partner the change that he/she wants, have them return to their seats.
- Students will write by filling in “Dear ______.”
- Then they will complete the statement “I want ______” for their first sentence.
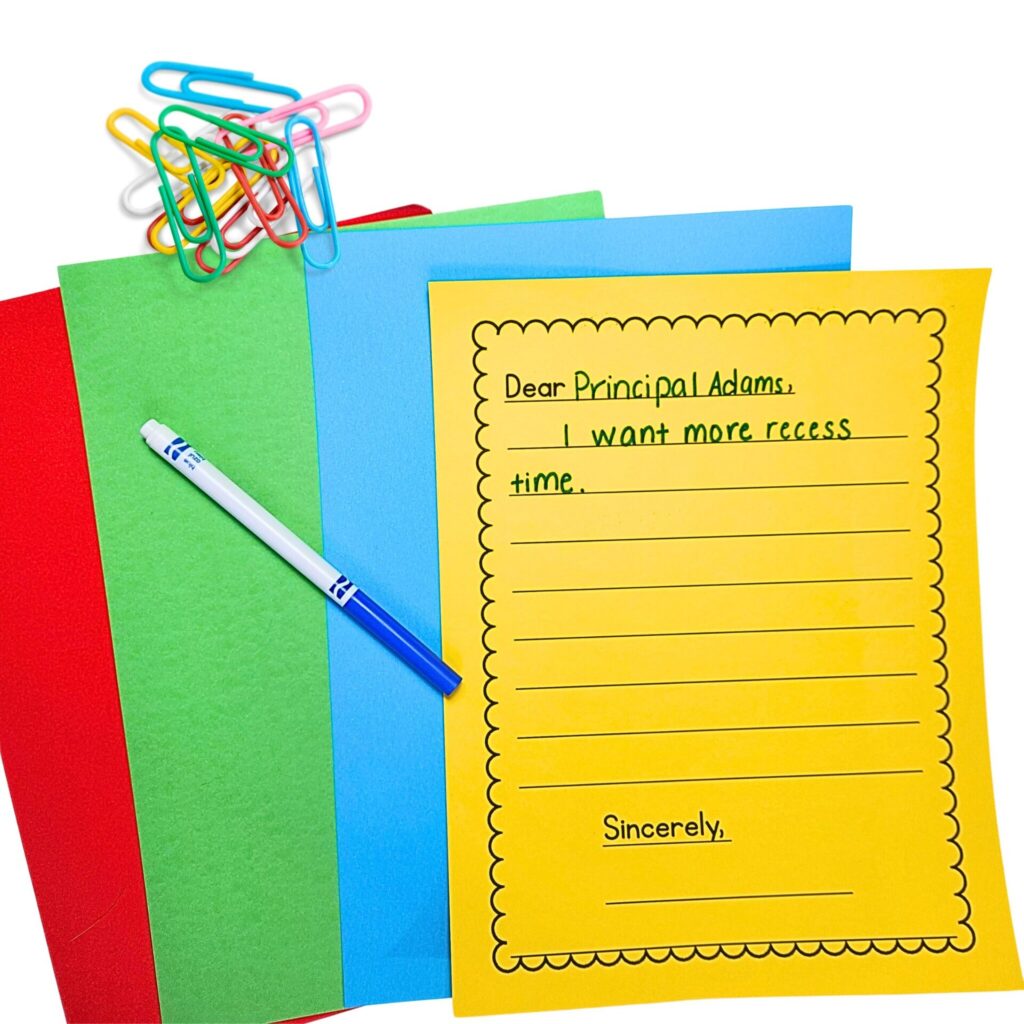
Here’s how the sharing/wrap up portion for “Writing a Persuasive Letter, Part 1” is structured:
- Students share with a partner their “I want ______” sentence. Then pick 2 students to share with the entire class.
- You can end with a quick wrap-up and look ahead to the next lesson. Say “Writers, we aren’t finished yet! Tomorrow we will tell WHY we want that change, so start to think about that.”
Conclusion
I hope these ideas on teaching K-2 students to plan out their opinion writing are helpful to you! Check out my opinion writing units to get access to all of the resources you need to teach opinion writing! The following items are included in the units:
- mini-lessons
- daily language arts/grammar exercises that complement the mini-lessons
- clear unit goals, daily objectives, and alignment to common core standards
- many resource types such as posters, visual aids, and materials to go with the mini-lessons (all color materials also have black and white versions included)
- printable writing paper
- a writing stages display and materials to make a genre bulletin board
- a list of mentor texts to accompany the unit
- FAQs and important importation to help you set up the writing workshop
- rubrics, anecdotal note forms, and other materials to help you get organized
- an opinion writing rubric that you can use throughout the year
Happy teaching!
