Getting our students to revise and edit their writing is challenging – but essential.
As adult writers, we revise and edit our writing automatically. We do it while we’re in the process of drafting and after we finish a piece of writing, whether it’s a quick email or a formal letter.
And as adult writers, we don’t usually say to ourselves, “Hmm, first I need to revise this piece. Then I will edit it.” We don’t typically distinguish between revising and editing – we might reword sentences, fix typos, and reorganize an email all at once.
But I do think that students need to understand the difference between revising and editing.
Because when we’re teaching our students to revise and edit, we’re trying to make our in-the-head processes (aka thinking about things to change in our writing) explicit and visible to them.
Kids need to understand that there is a difference between fixing spelling/punctuation/capital letters and actually re-thinking the content of a piece of writing.
If they don’t understand the differences, they will likely make only minor changes in their work when we ask them to fix up their writing.
So – in my opinion – the concepts of revising and editing need to be taught fairly early on. In today’s blog post, I’ll be exploring some ideas to help us teach our students the difference between revising and editing!
Photo Credit: Ami Parikh, Shutterstock
What IS The Difference, Anyway?!
When we want our students to think about revising, we want them to make significant changes to the content of their writing. Revising = re-seeing, or seeing our writing with new eyes and a new perspective.
Here are some things we want them to consider:
- Purpose (Did the writer achieve her goal through the text? Example: If a text was intended to be persuasive, would the reader be convinced?)
- Audience (Is the piece appropriate for the audience? Example: If a text is informational, does it provide enough background information so a reader new to the topic can understand the text?)
- Organization (Is the writing organized and easy to follow? Example: Are the beginning, middle, and end in the correct order?)
- Word choice (Did the author try out new and interesting words? If the piece is an informational text, did the writer use specific technical words that pertain to the topic?)
- Sentence structure (Are the sentences complete? Do they flow well? Are a variety of sentences used?)
I’m probably missing some things, but you get the picture!
On the other hand, when we ask our students to edit, we want them to think about:
- Capitalization
- Punctuation
- Spelling
- Grammar (i.e. subject-verb agreement)
And my personal experience has been that editing is a little bit easier and more comfortable for my students…because making real, substantive revisions to writing is hard, even for us adults!
The Fruit Salad Activity
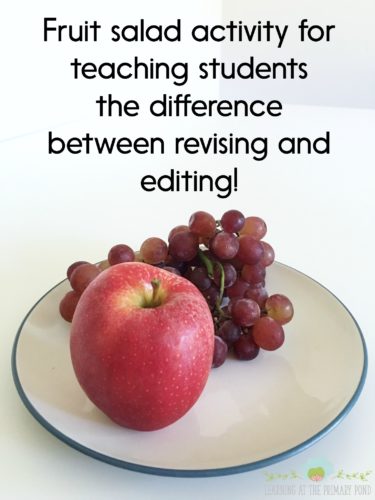
Here’s a little activity you can try with your kids to introduce or review the concepts of revising and editing. (You could also do this with trail mix instead of fruit salad, if that’s easier.) I like using this activity in 1st or 2nd grade (but you can do it with older kids, too!):
- At home, begin preparing a fruit salad. Cut an apple into small pieces and place them in the bottom of a clear bowl. Cut up a pear and lay the pieces on top of the apples. Do not mix them. Gather other small fruits, like grapes, blueberries, strawberries, etc. Bring the bowl with apples and pears to school, and the other (washed) fruits separately.
- When you’re ready to start the lesson, talk with students about revising and editing. If your kids are familiar with these terms, say something like, “I started a fruit salad at home. But it’s not really finished. I’m going to change the fruit salad in two stages. While you’re watching me, think about which stage is like revising your writing, and which stage is like editing.” They might be confused at first – but no need to explain further. You just want to get their attention at this point. However, if you’re introducing the concepts of revising and editing (or students don’t know much about them), don’t mention these terms yet. Say something like, “I started a fruit salad at home. But it’s not really finished. I’m going to change the fruit salad in two stages. I want you to notice what I do in stage one, and how that’s different from what I do in stage 2.”
- Tell students that you’re now going to begin stage one. Tell them to watch closely. Show them that you already have apples and pears in the bowl. Then, take out all of the pears and put them aside. Next, add in the other small fruits that you bought. Last, write “Stage One” on the board. Have students list the changes that you made (took out pears, added grapes, etc.). If you have a digital camera, take a photo of what the fruit salad looks like now.
- Tell students that you’re now going to begin stage two. Tell them to watch closely again. Remove a grape (or one other small fruit) and a piece of apple. Mix everything together. Then, write, “Stage Two” on the board. Again, have students list the changes that you made during this stage. If you have a digital camera, take a photo of what the fruit salad looks like now.
- Let your kids eat the fruit salad. 🙂 (Just don’t be like me and forget to bring plastic bowls!)
- Begin a discussion about what you did during stage one, and how that was different from what you did in stage two. You want to help students understand that during stage one, you made significant changes to the fruit salad. You made it really different from what it was when you first brought it in. And during stage two, you made some small changes, but the actual composition of the fruit salad didn’t change much at all.
- Talk about how these two stages can represent revising and editing. Writers take things out (i.e. the pears) and add things in (i.e. the grapes, strawberries, etc.) to their writing when they are revising. They also make small changes (like taking out a grape and a piece of apple) when they are editing.
When I teach a lesson like this, I refer back to it all the time during writing instruction. And if you’re able to take photos of the fruit salad throughout the activity, you can create a revising and editing anchor chart using those photos.
Other Ideas
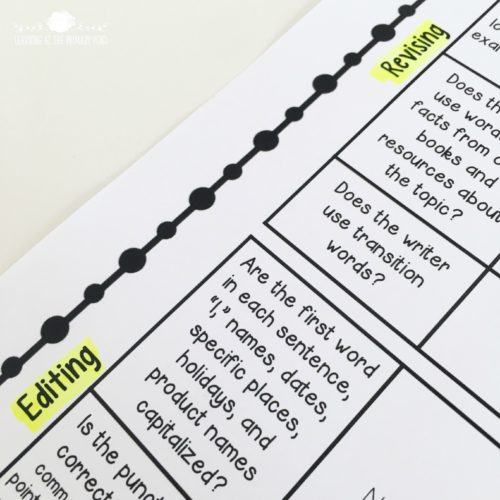
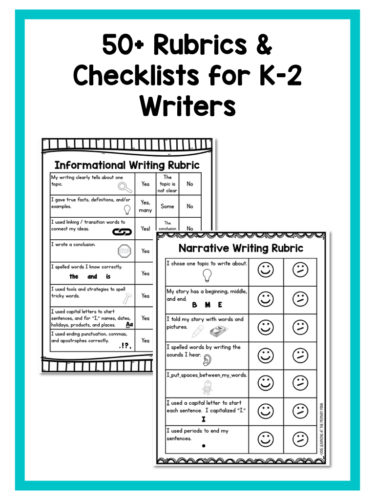
Something else I do to reinforce the difference between revising and editing is to divide checklists or rubrics into two categories. When I teach students how to use the rubric/checklist, we first talk about what to look for when we are revising (top part). Next, we move into the editing category (bottom part).
Another activity for 2nd grade and up: On sentence strips, write down different examples of the changes writers make to their work (get students to brainstorm these, if possible!). Then, have students work together to sort them into two groups (revising and editing).
Conclusions
Teaching kids to revise and edit is hard. For some of our students, just getting words on the page is enough of a challenge!
But I believe that when we help our primary students take baby steps toward learning the writing process, we are setting them up for future success.
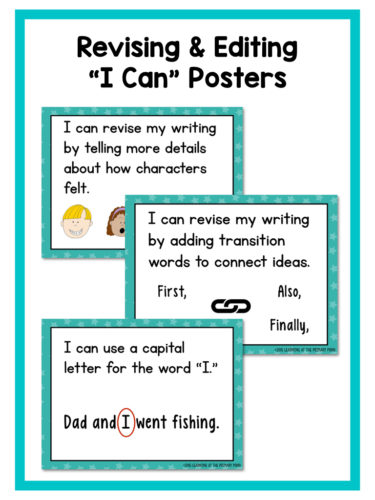
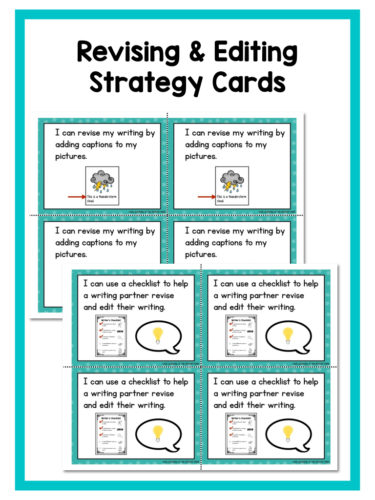
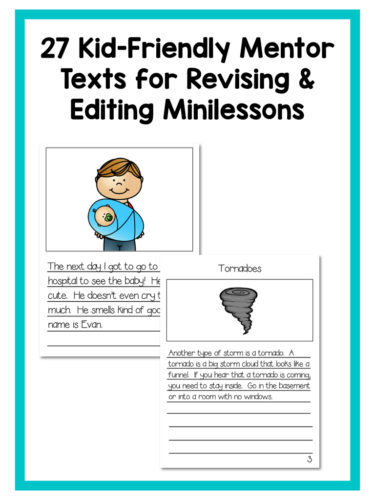
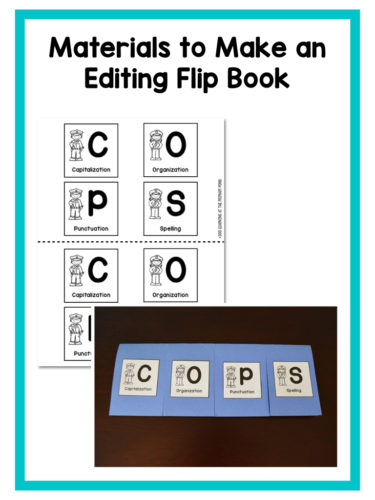
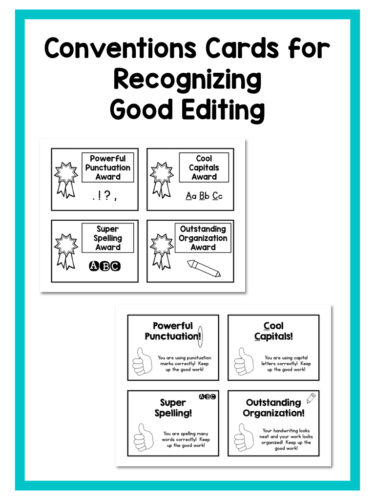
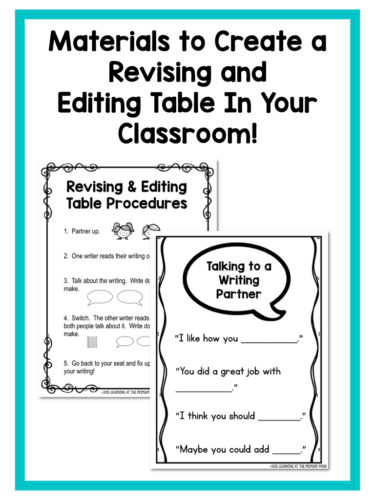
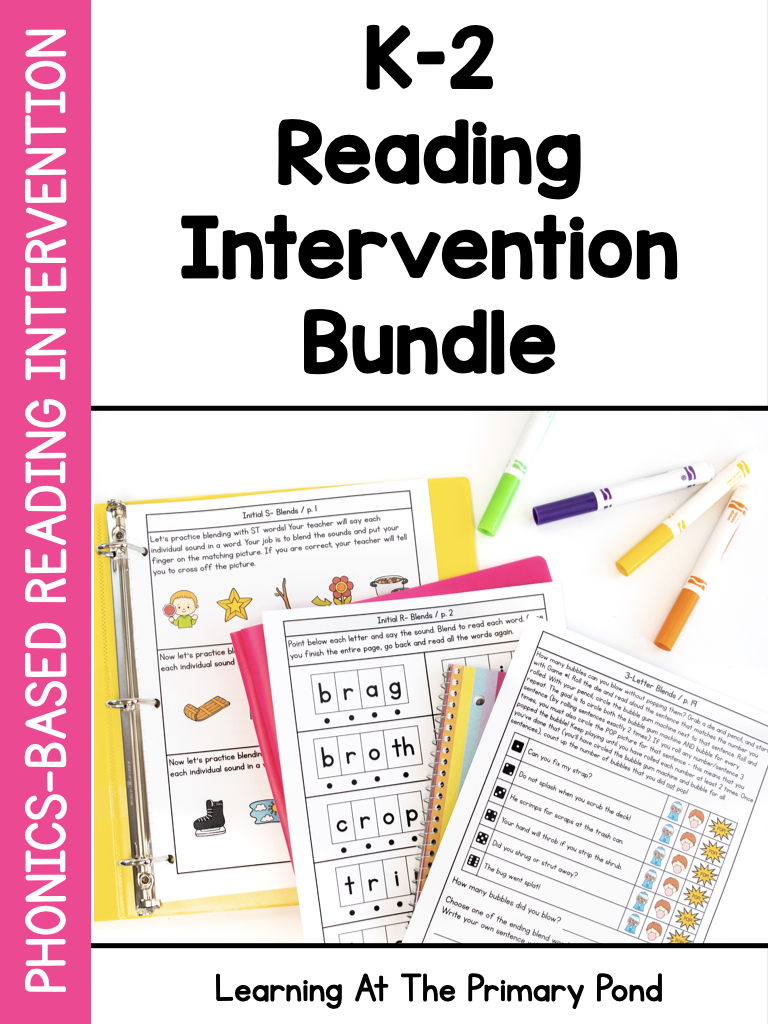
If you’re looking for additional materials to help your students learn to revise and edit, check out my Revising and Editing Toolkit!
Happy teaching!



Do you have this in Spanish?
Just English, sorry!
Alison