There are a million things that we have to fit into our school day—and handwriting can feel like just one more thing that we don’t have time for!
BUT it’s super important. Even in our digital age, students need to learn to form letters correctly!
In this post, I’ll share 5 activities that I use to help my students improve their handwriting. Many of these can be done in the context of writing instruction (perfect for when your students aren’t applying their handwriting skills to their actual writing).
I’m suggesting these activities in addition to your normal handwriting instruction. These activities don’t replace explicit instruction that shows students how to form letters. I recommend dedicating time daily or weekly for teaching handwriting, having students practice on paper and with sensory materials (i.e., shaving cream), etc.
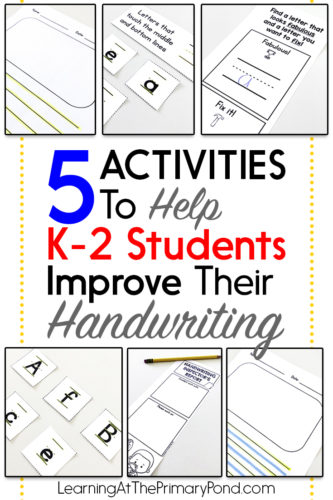
Activity #1: Highlight the lines on students’ writing paper.
This is more of a strategy than an activity—but it can be super helpful!
To help students who struggle to write within the lines, you can highlight the lines on their writing paper (for handwriting instruction AND any other writing activities they do).
If handwriting is a big challenge for a student, you might want to begin with paper with two lines, and then move to paper with three lines. Baby steps!
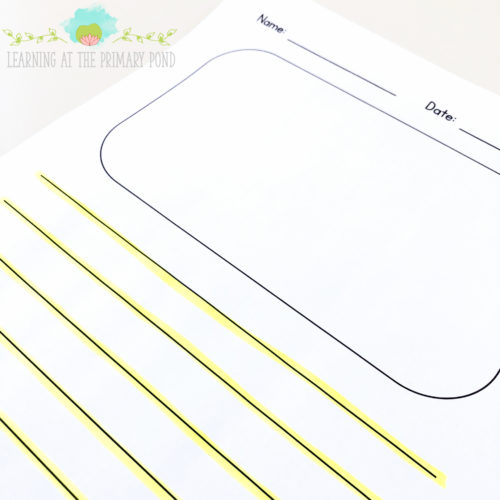
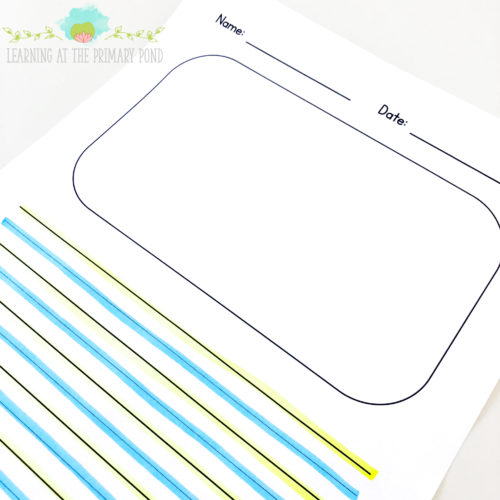
I definitely can’t take credit for this strategy. 🙂 I learned it from a wonderful occupational therapist who worked with one of my students. I wish I could give her a shout-out, but it’s been about 10 years now and I can’t recall her name!
Activity #2: Have students sort letters by their attributes.
Students need a “language” to help them think and talk about letter formation. It helps to use words like loop, dot, tail, stick, etc.
I really don’t think it matters WHAT terms you use, as long as you are consistent with those terms. (If you have a handwriting curriculum that students use at multiple grade levels, definitely stick to the curriculum’s terminology for consistency.)
To help students learn how letters are the same and different, you can have them sort letters by their attributes.
Students might sort magnetic letters into groups of letters that have curves, straight lines, or both.
I also like to have students sort letters by the lines they touch. For example, students might group letters by those that have tails below the bottom line, those that touch the top and bottom line, and those that touch the middle and bottom lines.
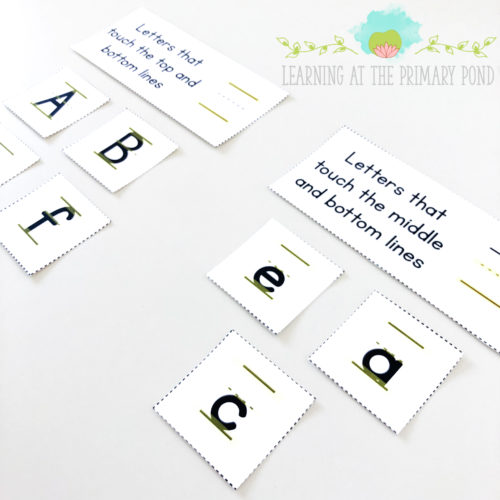
Having the highlighted letter cards is especially helpful to getting students to focus on these lines!
Activity #3: Play a “Handwriting Scavenger Hunt” game.
This game is helpful when you want students to fix up their handwriting in the context of their writing!
There are lots of different ways you can play the game. You give clues about a letter (or multiple letters), have students find it in their writing, and then have them fix up the letter if they see that it is formed incorrectly.
The clues can range from simple to more complex. Here are some example clues:
- Find a lowercase a.
- Find a capital letter.
- Find a capital letter that is a vowel.
- Find a letter that has a tail below the line.
- Find a letter that touches the middle and bottom lines.
- Find the letter at the end of the word the.
You might have noticed that many of these clues have more than one correct answer—this is helpful because you don’t always know which letters students have included in their writing.
It helps to have visuals of the letters to discuss them with students (once the mystery letter(s) are revealed). Also, make sure to have students study the letter(s) carefully and fix them in their writing, if necessary!
Activity #4: Play a “Mystery Letter Guessing Game.”
This activity is somewhat similar to #3, but it can be done out of the context of writing instruction. Instead of having students search through their writing, simply place letter cards on the table (4-6 letters at a time).
Choose one letter and give clues to help students guess it. They have to wait for 2 clues before making a guess.
If you put the below letters on the table and choose the letter c, you might give the following clues:
“This letter touches the bottom and middle lines.”
“This letter has only curves, no straight lines.”
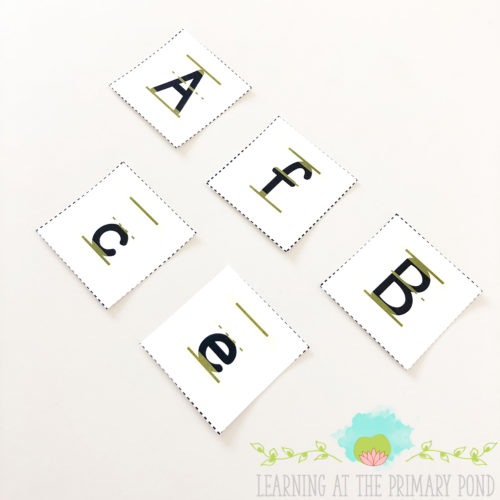
You can swap out the letter cards and play multiple rounds of this! If you do want to incorporate students’ writing, after students have guessed the mystery letter, they can search for examples in their own writing and fix any letter formation mistakes.
Activity #5: Play “Handwriting Inspector.”
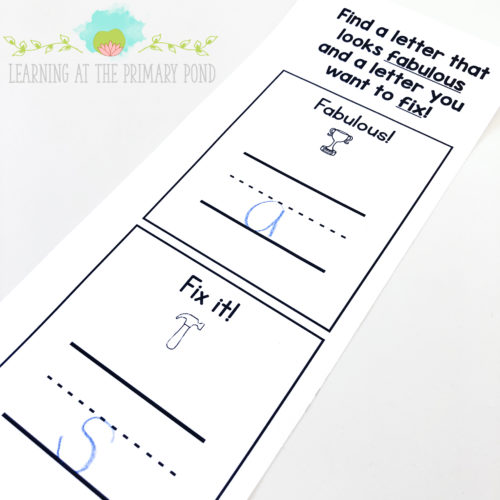
In this partner activity, students work with a partner to fix up their handwriting. After you provide instruction about how to (politely) give feedback, students swap papers. They look for examples of excellent handwriting, as well as areas for improvement.
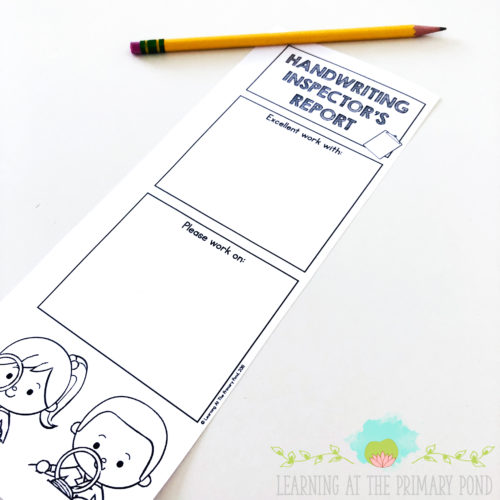
Students can also do this independently, in a “Fabulous and Fix It” activity where they work on improving their own handwriting.
Conclusions
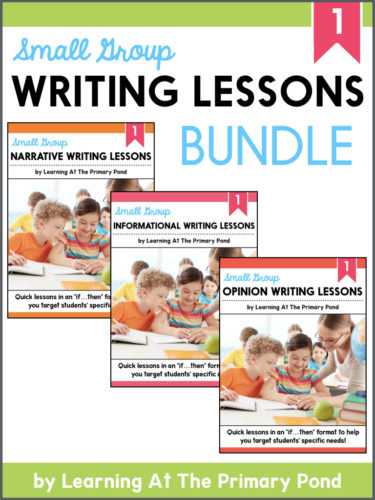
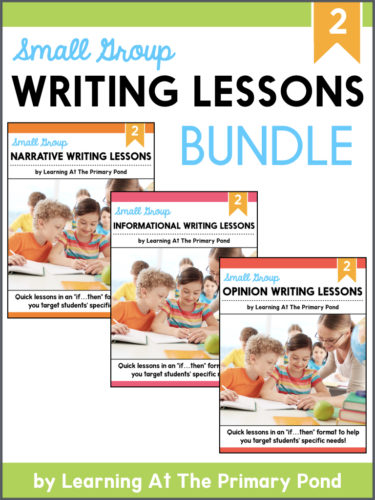
The materials shown in this post all come from my Kindergarten, first grade, or second grade small group writing bundles. And handwriting is actually just one small part of these resources—they address all kinds of writing issues, including capitalization, punctuation, spelling, and content!
You can read more about these materials by clicking on the images below.
If you have other favorite handwriting activities that you love, feel free to share below. Happy teaching!!





I loved your writing webinar tonight. I printed the freebies, the frog editing sheet was not there as you said….I can’t find the link to reprint it. An idea I had is to use an actual little mini plastic frog to jump Lilly pad to lilly pad.
Hi Lori! I’m so glad you enjoyed it!! The updated webinar freebie was emailed out – please email me if you didn’t get it and I’ll send it over. Thanks so much for coming! 🙂
Alison