Having students write in the primary grades is one of the most challenging literacy tasks we can ask them to do. And if you’ve ever taught Kindergarten, first grade, or second grade, you know that sometimes writing activities just don’t go quite as planned!
The good news is that when you do a really good job of modeling writing in front of your students, it helps them to be much more successful with writing.
That said, sometimes it can be difficult to figure out what to actually say when you model! That’s why, in this blog post, I’ll go through a clear example that demonstrates exactly how to model writing for primary students!
The specific resource we’ll cover in this post comes from my 1st & 2nd Grade Literacy Club. The materials you get as a member have differentiated activities and tons of support on exactly what to say when you’re modeling. (The Literacy Clubs are not meant to serve as a complete writing curriculum. However, these activities can supplement any writing program you’re already using!)
Step by Step Modeling
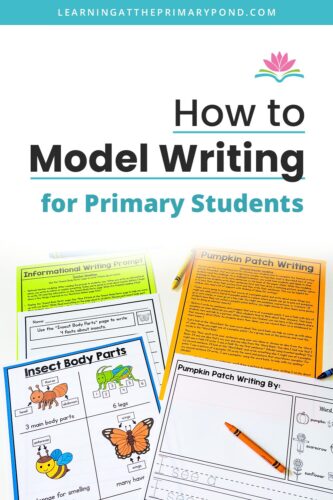
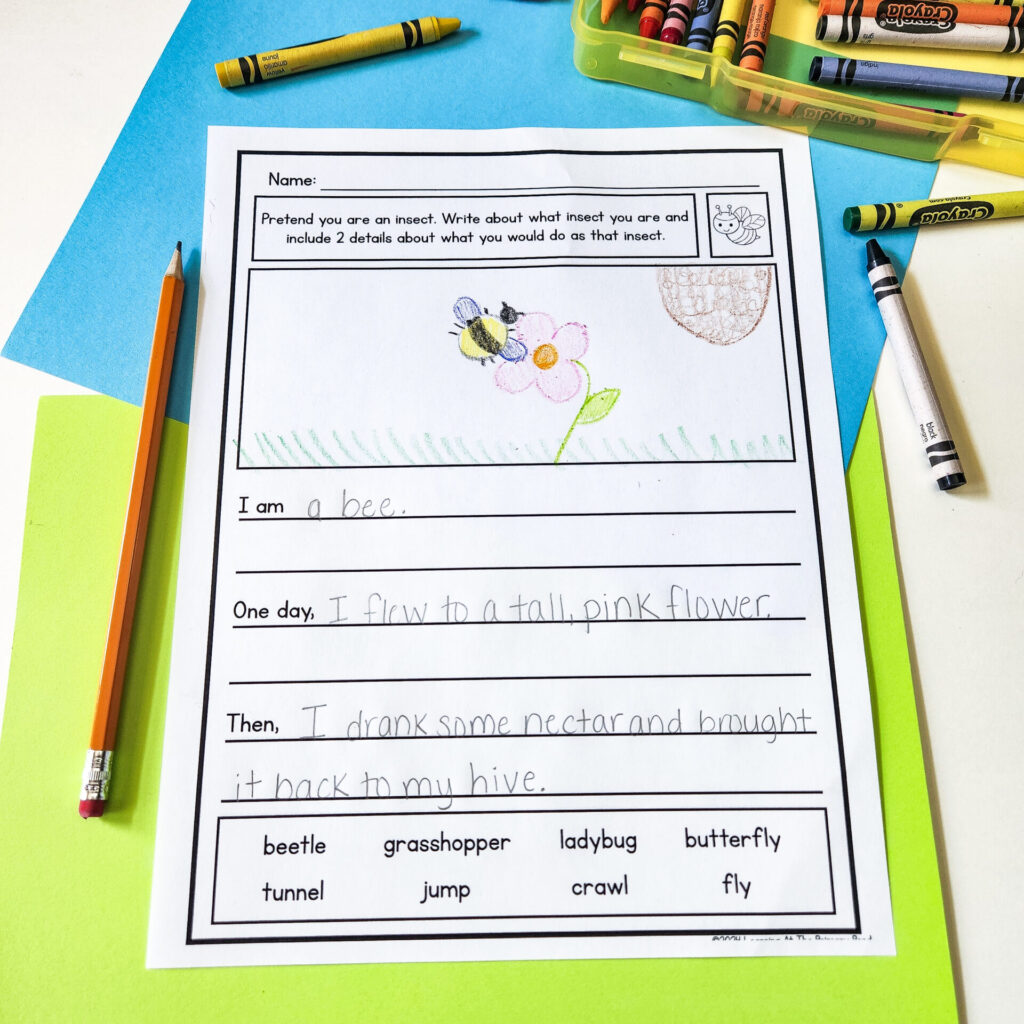
Here’s an example of a narrative prompt that you could model for students:
“Pretend you are an insect. Write about what insect you are and include 2 details about what you would do as that insect.”
Here are the steps I’d take to go from modeling –> having students write independently.
Step 1: Provide any necessary background knowledge and a probing question to get students acclimated with the subject.
After reading the prompt to students, say, “There are many kinds of insects. Can you think of a few?” (Have students name several kinds of insects.) “Insects do many things every day, like fly or catch food.”
Step 2: Introduce the topic for today’s prompt.
“In your story today, you’re going to pretend that you are an insect. Then, you’ll add two details about what you would do in your life as that insect.”
Step 3: Model how to plan out the story.
**As you read through this example, note how I clearly think aloud as I’m modeling for students. A strong model needs to include that thinking/talking aloud so that students are hearing about what you’re doing, not just seeing it.
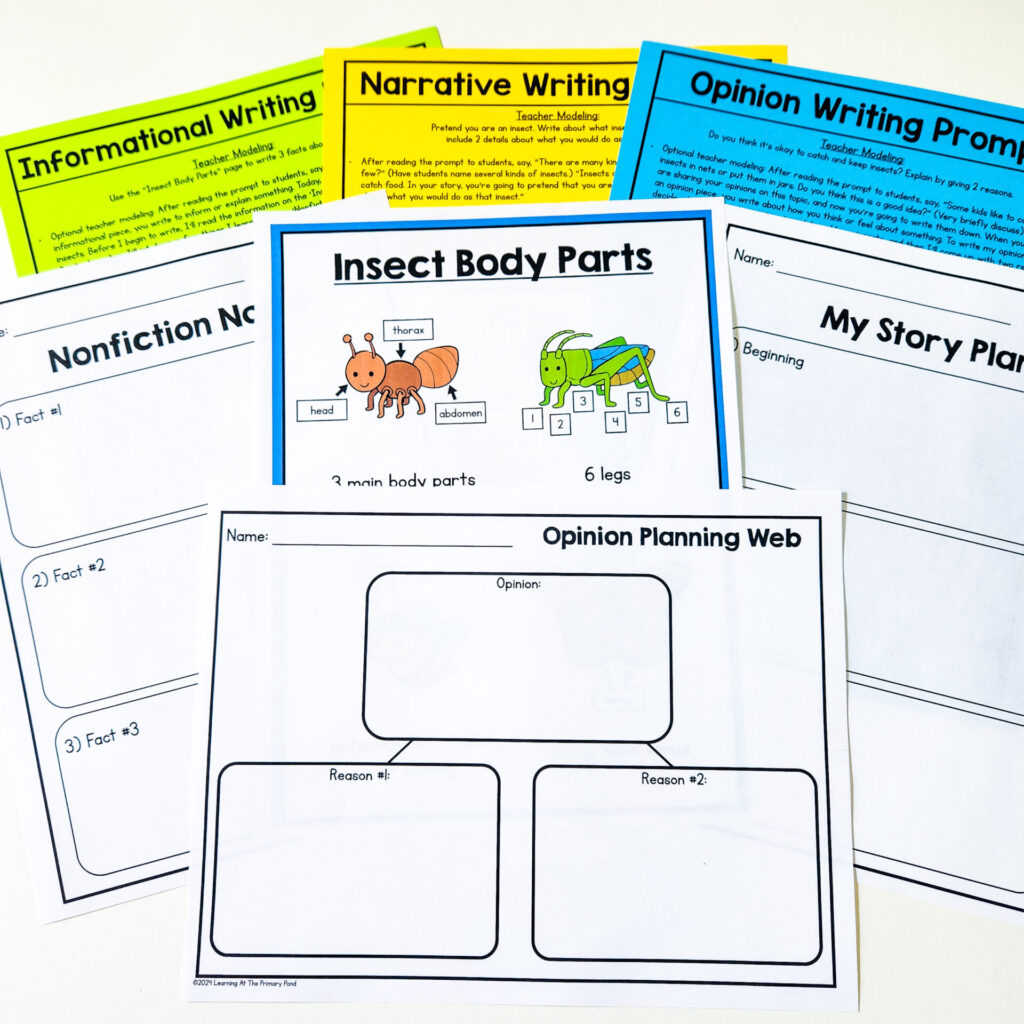
“First, we’re going to use this graphic organizer to make a plan for our made-up stories. Making a plan first makes it easier to write your story.” Display the “My Story Plan” page so students can see it.
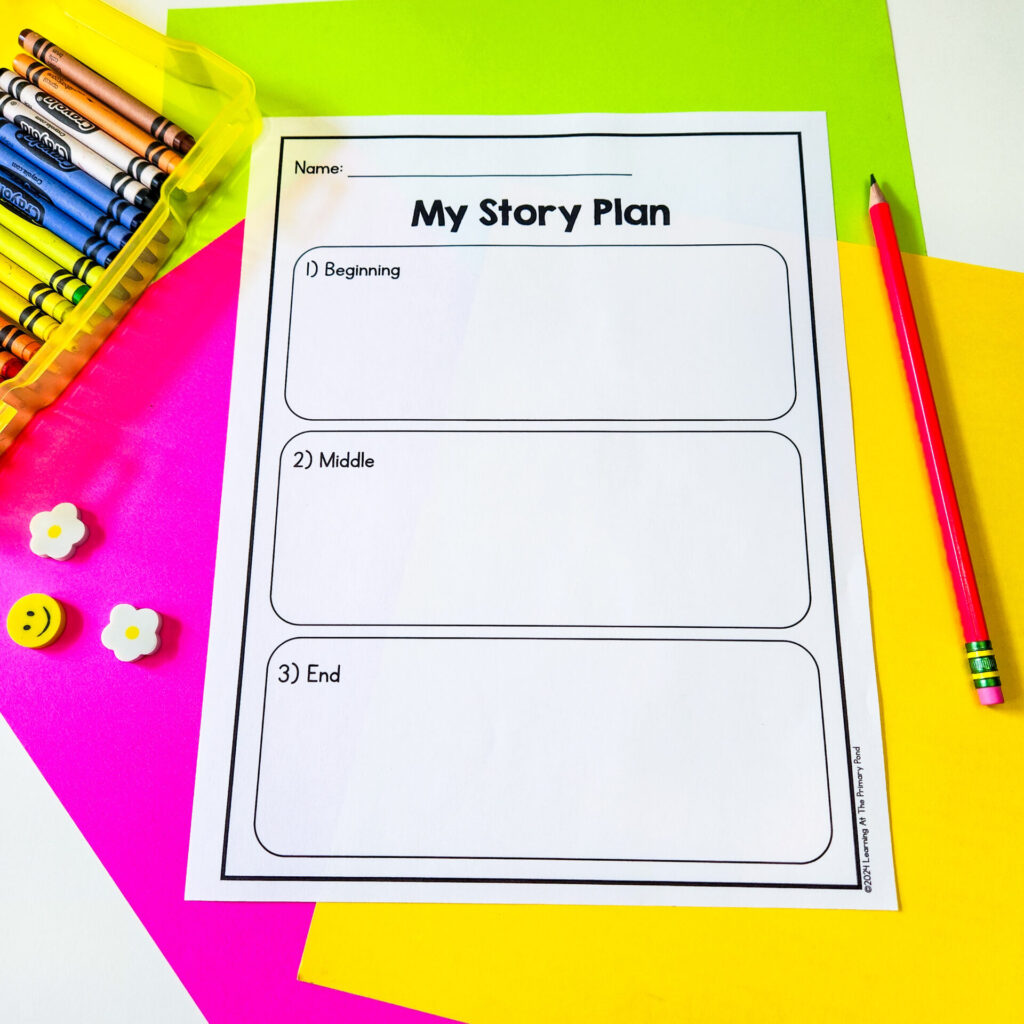
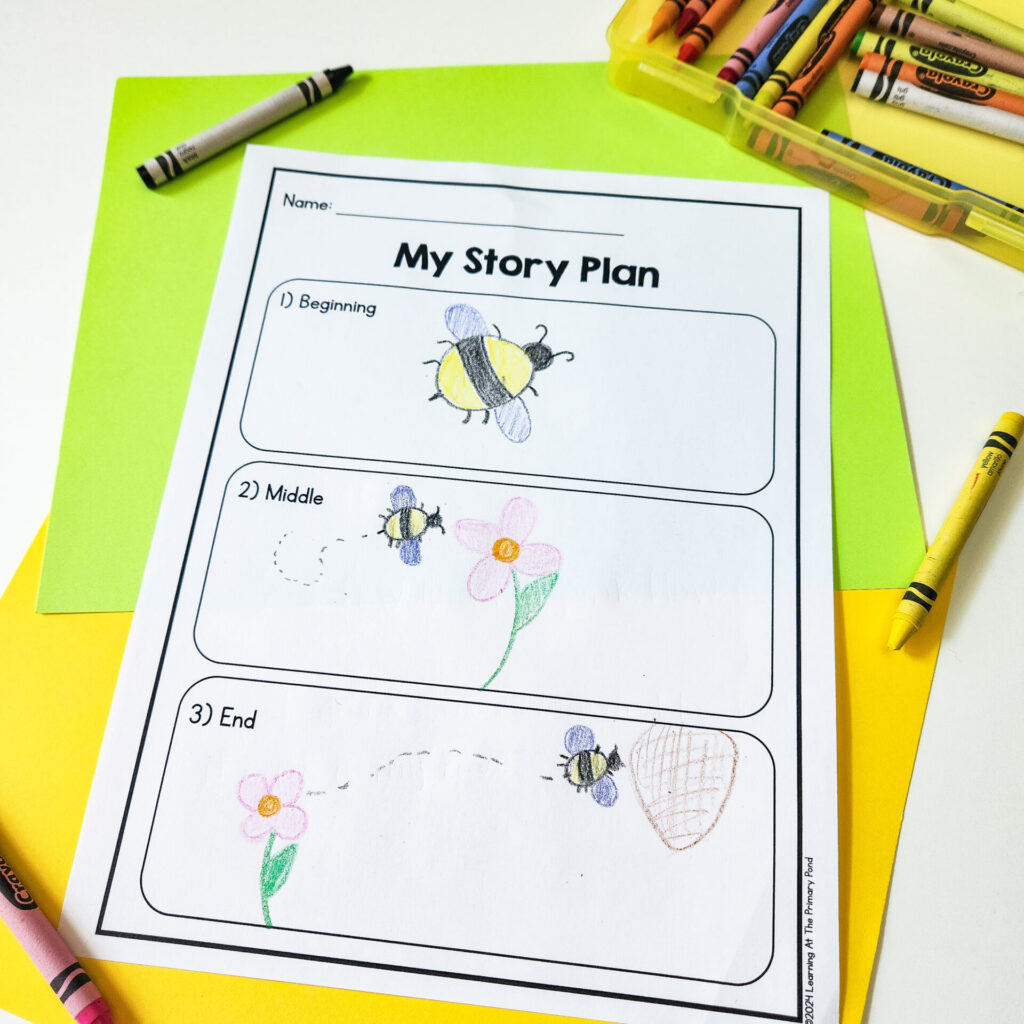
“In the box labeled ‘Beginning,’ I’ll draw a quick sketch about what happens first. My story is going to start with me describing what kind of bug I am.” (Model quickly sketching a bee.) “In the box labeled ‘Middle,’ I’ll write a detail about what I do first as a bee. First, I will fly to a flower.” (Model quickly sketching this.) “Now I need an ending to my story. I’ll take the nectar I gathered from my flower and bring it to the beehive.” (Model quickly sketching this.)
Step 4: Provide students with thinking time (and talking time) of their own, prior to writing.
Now that students have seen you plan out your story, they get a chance to talk through possible options with a partner.
“Now it’s your turn! But guess what? You aren’t going to plan the same story that I did. You’re going to come up with your own idea! So right now, think to yourself…what insect are you going to be in your story? What are you going to do?” (Pause) “Now turn and tell your partner what your idea is.” After students have turned and talked, have 1-2 students share out with the entire class.
Step 5: Students will plan out their story, while you provide support as needed.
Then, pass out the graphic organizers. Remind students that they should draw a quick sketch in each box (they can add more details when they actually write their stories). Provide students with time to plan their stories, and give support as needed. If a number of students struggle, bring the class back together to remind them how to plan the middle and end, or gather a few students at the small group table so you can support them simultaneously.
Step 6: Model how to transfer the plan to actual writing.
The actual transfer of a plan –> a writing piece can be tricky! So make sure you explicitly model this for students. (If you need to spread the lesson over multiple days, this would be a good point to start on for the following day.)
After students have planned their stories, bring them back together. You’ll need your completed graphic organizer, plus the writing paper. “Now that I have my plan for my story, I need to actually write it!” Display your completed “My Story Plan” graphic organizer. “Look at my first sketch. What was the beginning of my story about?” (Telling what kind of insect you are) “Yes – so I’ll write ‘I am a bee. I am small with black and yellow stripes.’” (Model) “What was the middle of my story about?” (You flew to a flower) “Right! So I’ll write ‘One day, I flew to a tall, pink flower.’” (Model) “How did my story end?” (You brought nectar back to the hive) “That’s it-so I’ll write ‘Then, I drank some nectar and brought it back to my hive.’” (Model)
Step 7: Provide writing time for students, giving necessary support individually or in small groups.
“Now it’s your turn to take your story plan and turn it into an actual story! Look back at the sketches you drew for the beginning, middle, and end. Turn them into sentences just like I did.” Have students work on writing their stories. You can gather a few students at the small group table so you can support them simultaneously or confer with students one on one.
Step 8: Let students share part of their piece with a partner.
After they’re finished, they can read their stories to a partner and revise/edit with a partner.
Conclusion
With the 1st & 2nd Grade Literacy Club materials, you’ll get an informational, a narrative, and an opinion writing prompt each month. The exact wording for what you need to say and how you should model is written out for you, too!
My Kindergarten Literacy Club also has writing activities with modeling!
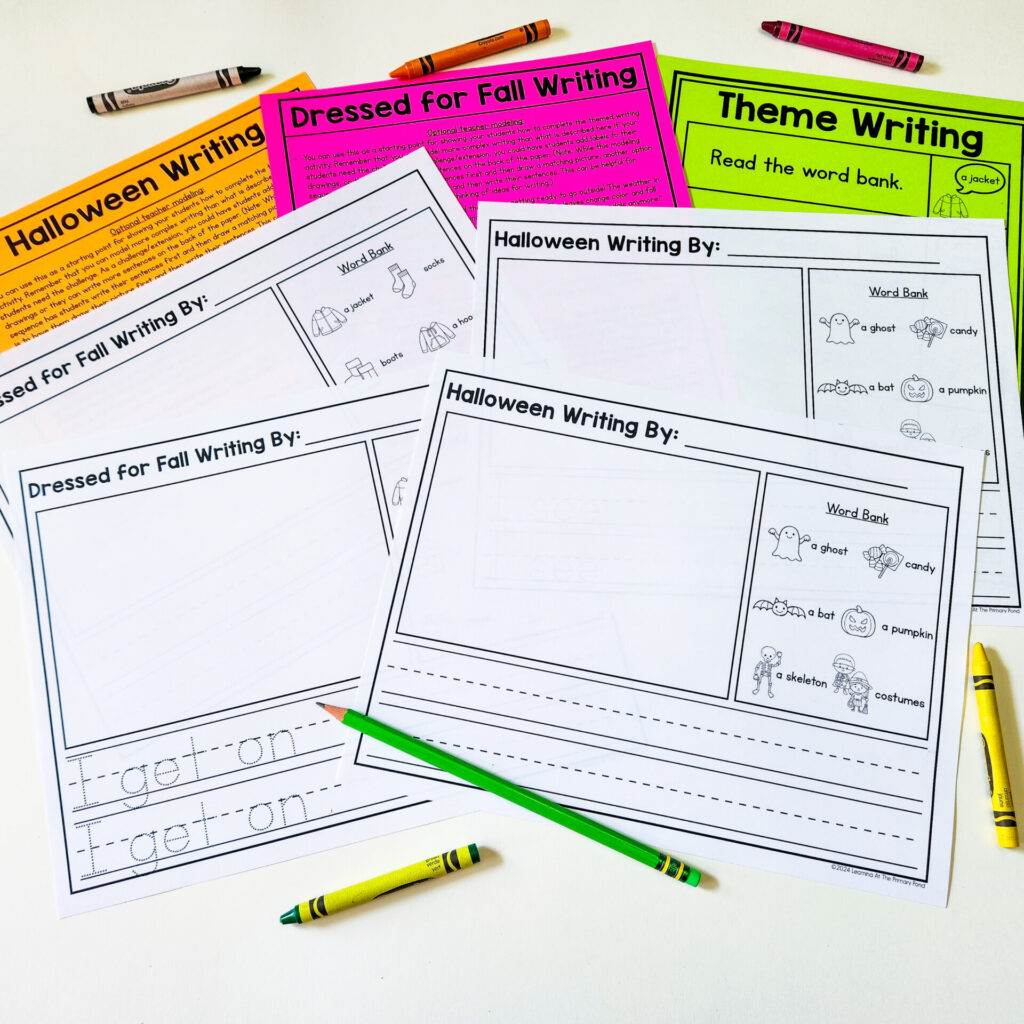
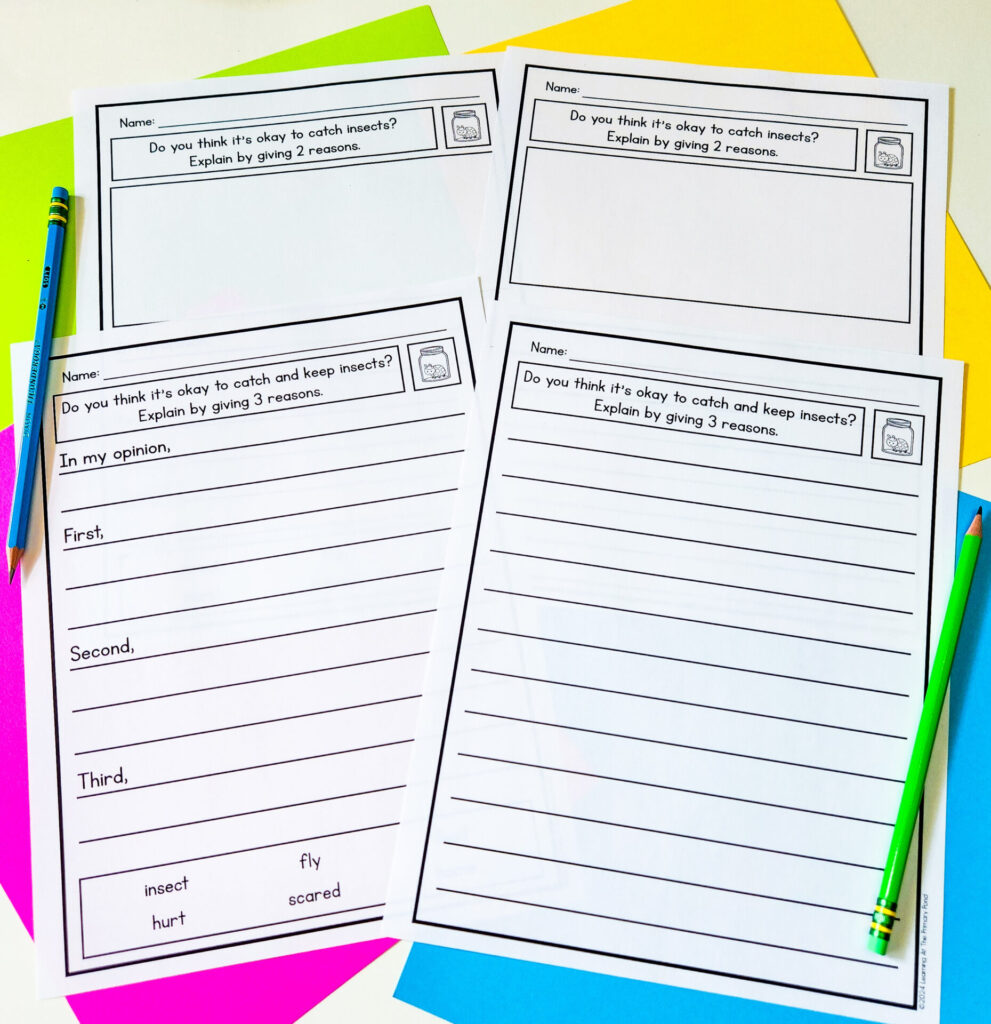
There are lots of differentiated options included (i.e. resources with sentence starters, word banks, a varying number of details that students need to write) so that you can choose the option that best meets your students’ needs.
If having materials like these interests you, get on the waitlist for the Literacy Clubs! The clubs are only open twice a year – in January and July – but you can join the waitlist at any time!
Happy teaching!
