Sound boxes, or Elkonin boxes, are an effective tool for visually showing students individual sounds in words. They can be a great way to help students make a connection between phonological awareness skills and phonics.
Let’s first go through a few definitions:
- phonological awareness = refers to the awareness of sounds in words (no letters involved)
- phonemic awareness = one (important) type of phonological awareness; phonemic awareness is the awareness of individual speech sounds, like the /m/ sound in “moon” or the /sh/ sound in “fish”
- phonics = the relationship between sounds and letters
Sound boxes can also be a great teaching tool for high-frequency/sight words.
- high-frequency words = the most frequently used words in texts (especially in beginning children’s books)
- sight words = words that a reader knows instantly, by sight
In a nutshell, you’re trying to teach your students words that appear frequently in texts, so that these words eventually become instant words for the students to know by sight!
In this blog post, I’ll go through different ways to use sound boxes to teach phonemic awareness, phonics, and sight words with your Kindergarten students, first grade students, or second grade students.
Sound Boxes and Phonemic Awareness
Phonemic awareness helps students learn phonics, the relationship between sounds and letters. Learning to read requires skills that the brain is not “wired” for. Young children have to learn to pay attention to the individual sounds in words (and how they are represented with letters). Phonemic awareness builds this foundational literacy skill.
You can use different visual aids as an effective strategy to practice phonemic awareness. Using sound boxes is a hands-on way for students to work on blending (putting sounds together to make a word) and segmenting (breaking a word apart into its sounds).
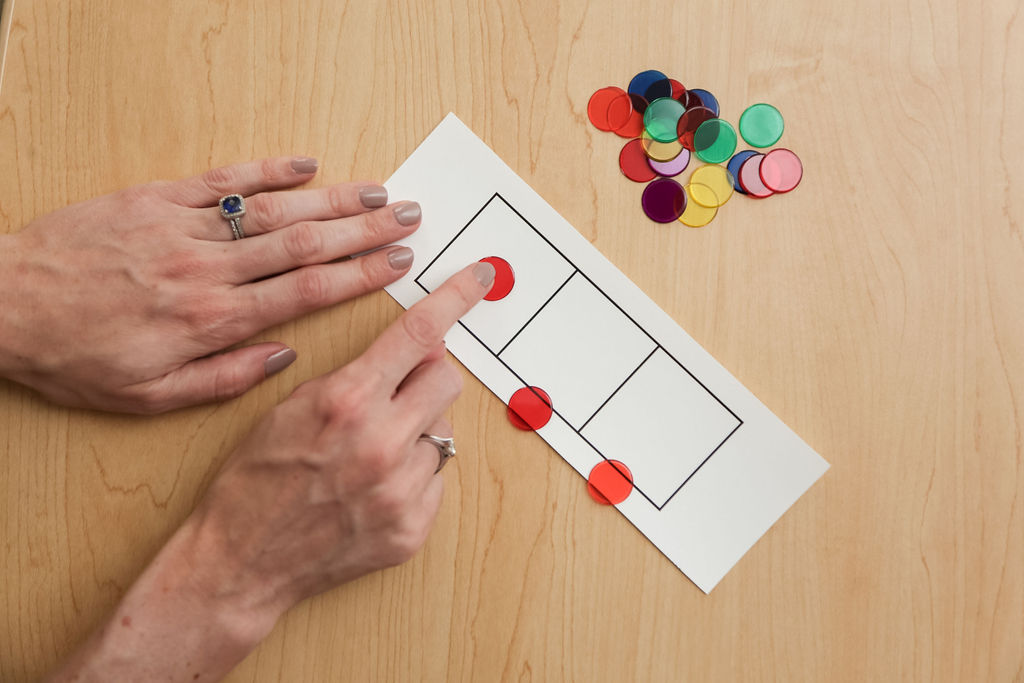
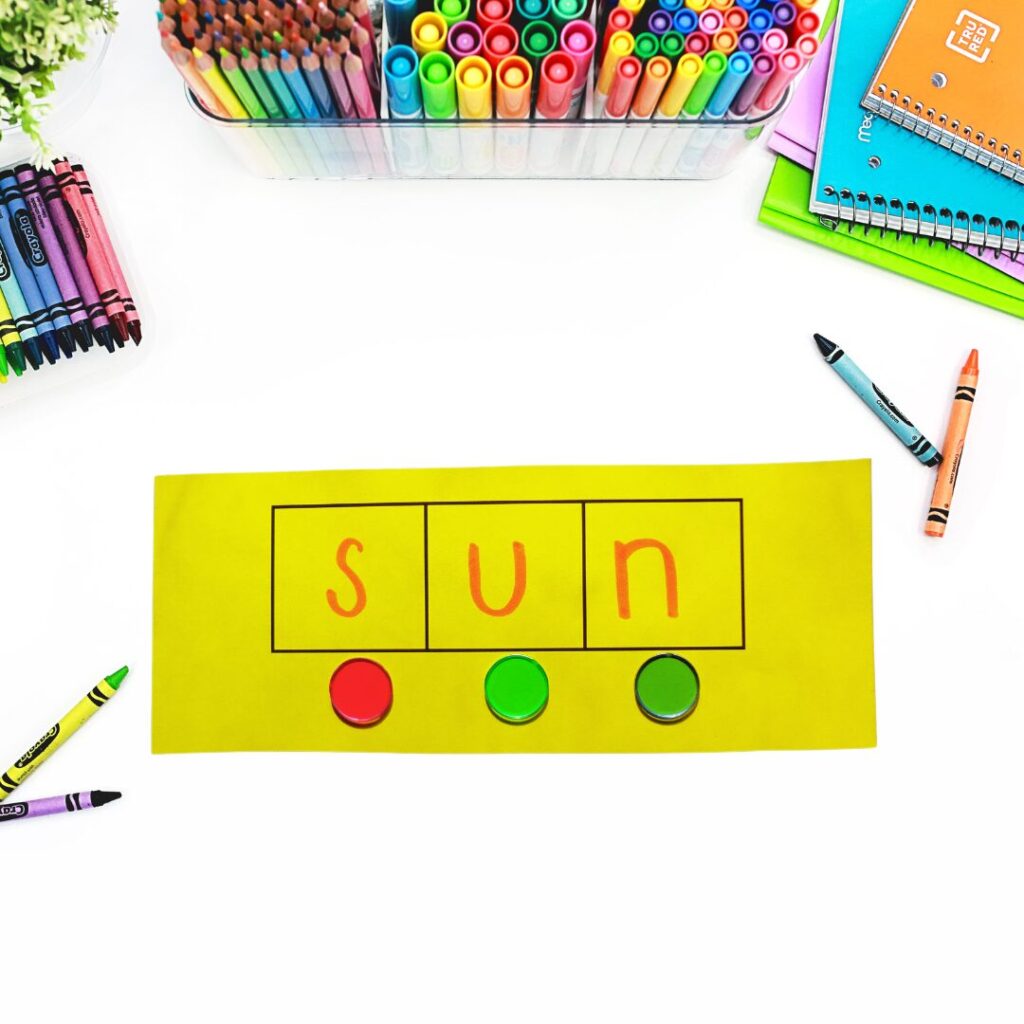
Here’s an example you might do (you could do this in whole group or small group instruction):
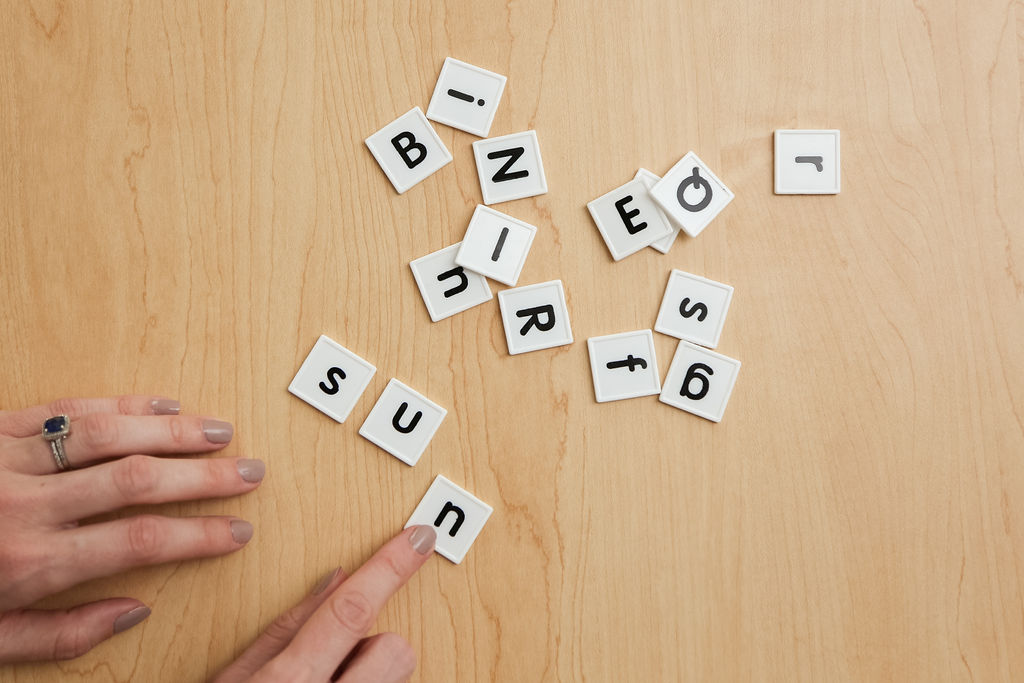
If you say the word “sun,” the kids would first repeat the word “sun.” Then they would segment the word – /s/ /ŭ/ /n/ – into its different sounds. To use the sound boxes, a student would “push” the first sound /s/ into the first box, the second sound /ŭ/ into the second box, and the third sound /n/ into the third box. Individual students can push a small manipulative into each box, or just tap each box with their finger.
This is another variation of the above Elkonin / sound boxes. The fingerprint images are there to remind students to touch each box once as they say the individual sounds in a word.
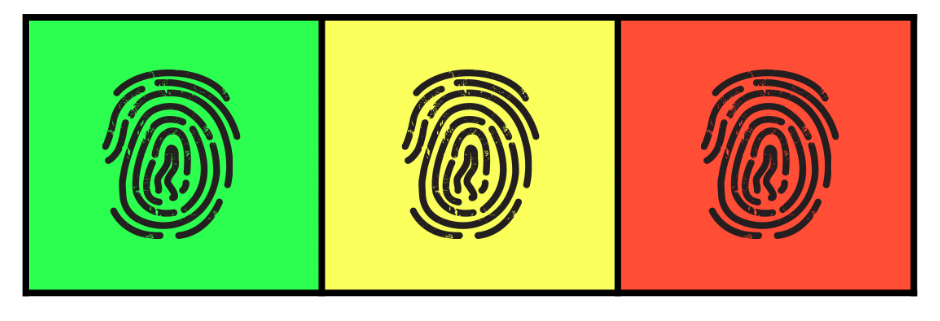
Elkonin boxes aren’t just for “simple” CVC (consonant vowel consonant) words. In the pictures above, you could use any word that has 3 phonemes (even if it has more than 3 letters), such as “chip.” The /ch/ would be pushe in the first box, /ĭ/ into the second box, and /p/ into the third box.
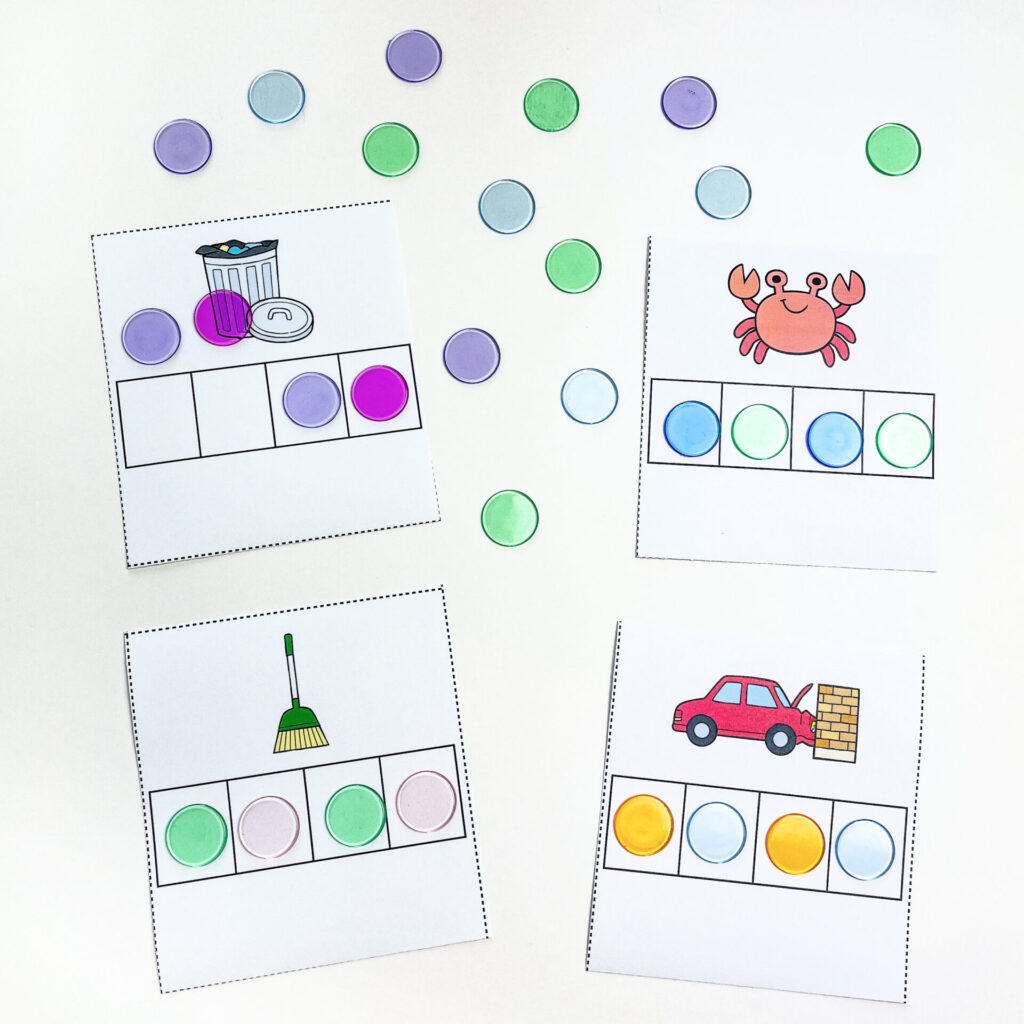
There are also four box options. In these sound box cards below (from my Phonological Awareness Activities), students say the name of the picture aloud (i.e. “crab”) and then say the individual sounds: “/k/ /r/ /ă/ /b/.” As they say each sound, they push a counter into one of the sound boxes.
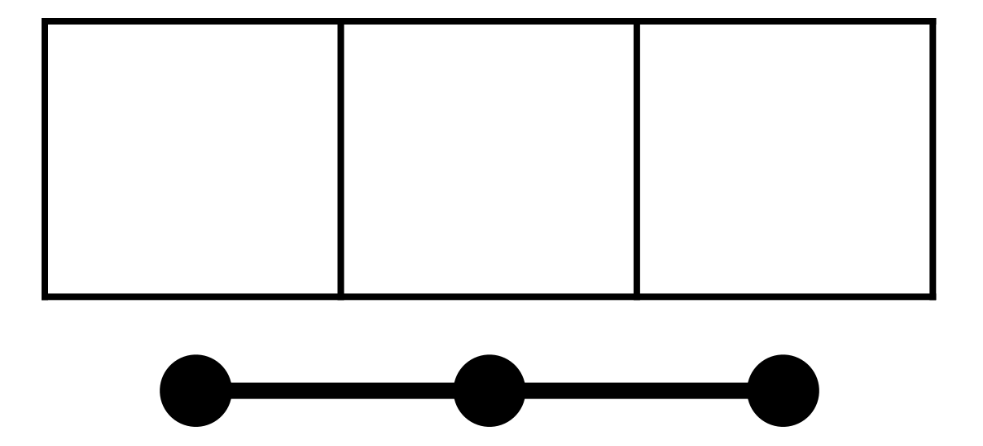
Students can also practice blending using sound boxes. You could start by saying individual sounds – /p/, /ĭ/, /g/. Then students would repeat and push the same sounds into the sound boxes – /p/, /ĭ/, /g/. Then they blend the phonemes to say “pig.” It’s blending in this scenario because you’re telling them just the sounds and they have to say the whole word.
The dots underneath these sound boxes remind students to say each sound, and then the line reminds them to blend the sounds together.
If you’d like to read a bit more about “Why Phonemic Awareness Matters,” check out this blog post I wrote on the topic.
Sound Boxes and Phonics
Our brains learn words through a process called orthographic mapping. Orthographic mapping is the “in the brain” process of forming connections between letters and sounds. The result of this process is that written words are stored in the brain, so that readers recognize them automatically (without sounding them out).
When you intentionally connect your phonological awareness and phonics instruction, your students will progress even more quickly in their reading because they’ll have that letter-sound correspondence.
The activities outlined in the previous section of the blog prepare students to work on writing/spelling CVC words – but with phonemic awareness, the kids are only working with sounds. After 2-3 weeks, the teacher can/should begin phonics instruction on CVC words.
Let me show you how you could take phonemic awareness activities and shift them to have a phonics focus.
Students can start by just pushing the sounds /s/ /ŭ/ /n/ into sound boxes. To make the shift to phonics, have them write the individual letters – “s,” “u,” “n” – into each box.
Instead (or in addition!), you could have them build the words with magnetic letters or letter tiles for a fun activity!
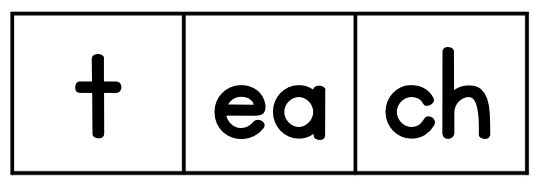
Sound boxes are not limited to use with words with short vowels! You can use sound boxes with vowel teams, r-controlled vowels, glued sounds, and diphthongs to name a few. Here’s an example of a word that has a vowel team:
Sound Boxes and Sight Words
My first personal experience with teaching high frequency/sight words was filled with confusion. As part of a reading tutoring program, I was supposed to introduce a few high frequency words on flash cards to a Kindergarten student. I was confused. I remember thinking, “Wait…you just put the word on a card and a student’s going to learn it? Just plain old memorization?”
It didn’t feel right to me. It felt boring. And not only that – it felt like it didn’t reflect the way young children learn. I also thought that all sight words were spelled irregularly – and that memorization was the only way to learn them. Well. It turns out I was wrong!
Memorization / repetition certainly plays a role in learning some high frequency words. But there’s more to it than that! When someone is learning a new word, the learning process works best when these 3 areas of the brain are activated:
- The part where meaning is stored
- The part where spelling is stored
- The part where sounds are stored
You probably have students practice reading high frequency words in sentences or even by making up their own sentences with the words. And you might have students learn to spell the words. But what about #3? Did you know that it IS valuable to help students think about the sounds in a high frequency word?
When we teach a high frequency word – even an irregularly spelled one – we want to do it so that the word moves from a student’s short term memory to their long term memory. (And they can read it instantly, upon sight.)
Let’s look at an example of this, with the word “that.” We can lay out the word in sound boxes to help facilitate the orthographic mapping process for students:
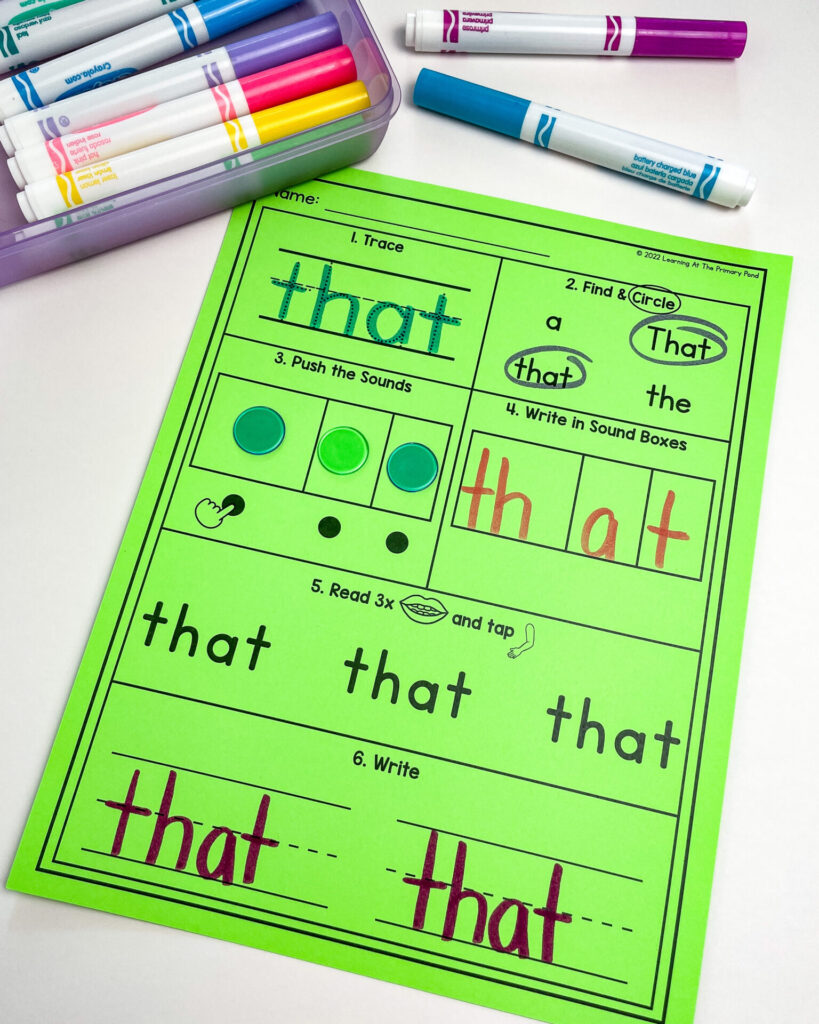
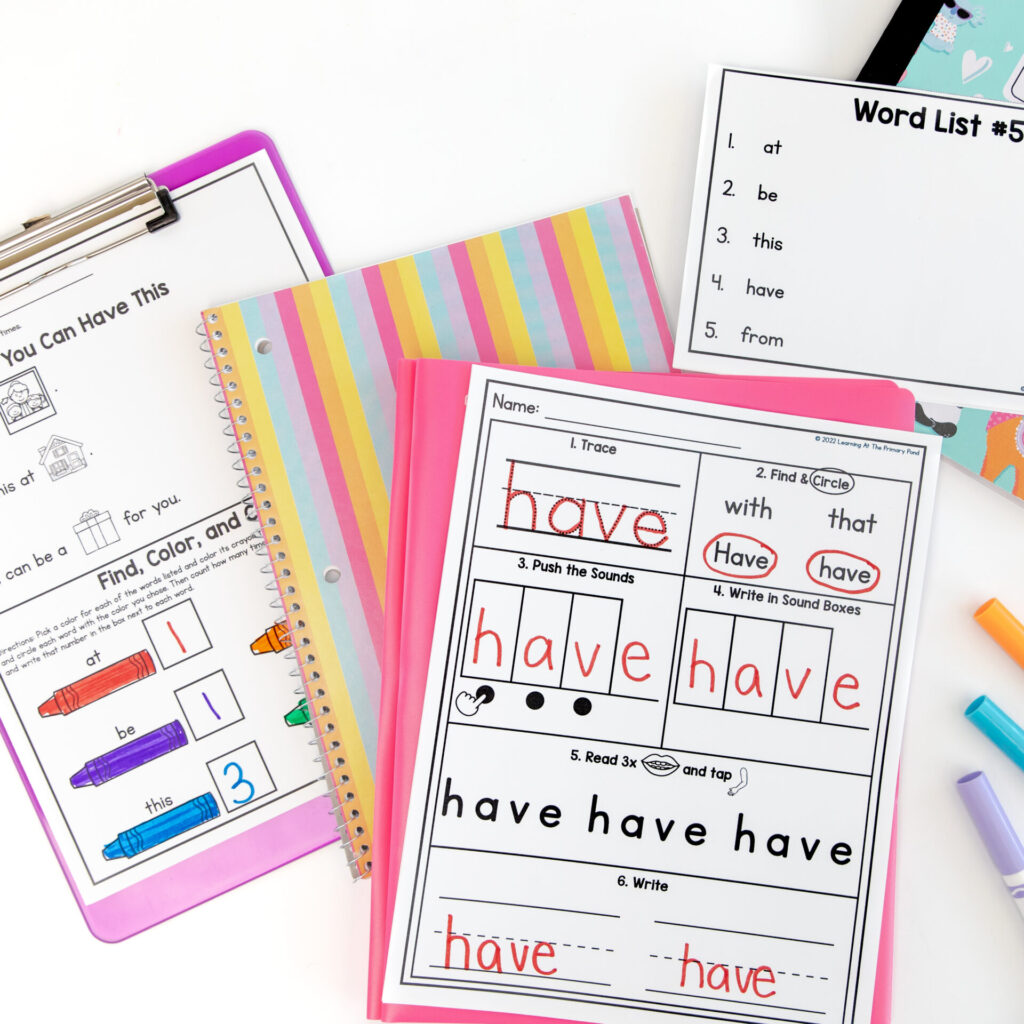
In my High Frequency Word Worksheets, students trace the word, find and circle the word, push the individual sounds into boxes as they say them, write the individual sounds, read the word, and write the word. This activity can be independent work that comes after direct instruction on the word (where you introduce it, help students understand how the word is used in language, and teach them the connections between the letters and sounds in the word). That instruction can be done in whole group or in small groups.
Again, we need to follow this process even when a word is irregularly spelled, such as the word “said.”

The “s” and the “d” are in their own boxes, because those letters each represent just one sound. The “a” and “i” are in one box, because they work together to represent the short e sound, /ĕ/.
We can now show students the connections between the sounds in the word and the letters. The “s” represents /s/, the “ai” represents /ĕ/, and the d represents /d/. The sounds for the s (/s/) and d (/d/) should be familiar to students. The “ai” part is trickier, because “ai” is used to spell the short e sound in this word (it usually represents the long a sound).
Because high frequency words appear often in texts, we want students to be able to read them quickly and easily. You’ll want to use sounds boxes for both irregularly spelled and regularly spelled high frequency words. I teach students to read AND spell these words (learning to spell them actually helps them with reading, too!).
Then, if a student is reading and gets to an irregularly-spelled word that has been taught, but they don’t recognize it, you can still encourage them to sound it out! If they don’t recognize the “tricky part” at first, they may end up self-correcting once they blend. And if not, you can prompt, “Which sound is tricky?”
Resources with Sound Boxes
If students need additional support with writing words throughout the school year, go back to the visual tool of sound boxes! They can be such a powerful tool for students.
If you’re looking for resources that include sound boxes, take a look at my Phonological Awareness Activities. This resource is a great way for students to continue practicing independently with engaging games and activities.

Also, my High Frequency Word Worksheets are great for teachers who want to give their students meaningful activities so that they can master high frequency words quickly – and improve their reading fluency!
Happy teaching!