If some of your students aren’t quite grasping phonics concepts (or they’re just not sticking), you’re not alone. The solution might be a small but powerful shift in how you teach: incorporating multi-sensory learning into your lessons.
In this blog post, you’ll learn what multi-sensory learning is, why it works, and how to easily incorporate it into your daily phonics routine.
What Is Multi-Sensory Learning?
So, what does multi-sensory learning look like in the classroom? It’s simply engaging multiple senses (visual, auditory, kinesthetic, and tactile) during a lesson. This approach is especially effective for early readers and students who need a little extra support.
The goal isn’t to use all four senses at once, but rather to provide varied, intentional experiences that help students process and remember phonics concepts more effectively.
Why Multi-Sensory Instruction Works
Literacy skills, like reading and writing, require students to integrate information from multiple senses. For example, when learning phonics skills, they have to match sounds (auditory) to letters (visual).
As The Reading League notes, it “simultaneously utilizes the associations of the auditory (hearing), visual (seeing), and kinesthetic (movement) neural pathways to strengthen learning.”
This kind of instruction is particularly beneficial for diverse learners. Students with dyslexia, ADHD, speech or language delays, or those learning English often benefit most from hands-on, visual, and movement-based learning.
It also makes differentiation easier. You can use the same core routine with your whole group, while offering different levels of support — like adding pictures or movement cues for some students and extending with writing or dictation for others.
Approaches like Orton-Gillingham have long relied on this concept. When students connect with phonics content using more than one sense, it improves memory, increases engagement, and builds stronger decoding skills.
“Multisensory learning involves the use of visual, auditory, and kinesthetic-tactile pathways simultaneously to enhance memory and learning of written language.”
—Shelly Hatch, Dyslexia Center of Utah
Multi-sensory instruction also fits within a Structured Literacy approach, which emphasizes explicit, systematic teaching of phonics and other foundational reading skills. It’s one more way to make those lessons stick.
The best part? Strategies that engage multiple senses aren’t just for struggling readers. They support all learners by making abstract phonics concepts more concrete and accessible.
Multi-sensory instruction isn’t about making lessons flashy or over-the-top. It’s about giving students more ways to connect with what they’re learning and truly make it stick.

Photo Credits: Shutterstock: FH Photo
Practical Examples of Multi-Sensory Phonics Activities
Multi-sensory instruction doesn’t have to be complicated. Here are a few simple, effective examples. Below are a few common examples of multi-sensory activities you might use during phonics instruction. These highlight the kinds of sensory input (movement, touch, sight, and sound) that support learning:
- Skywriting or arm tapping to practice spelling patterns
- Using manipulatives such as letter tiles, sand trays, or gel bags
- Blending sounds by sliding a finger across a table or tapping under each sound to connect phonemes to graphemes
- Using visuals and actions to reinforce spoken and written words, such as pairing letter cards with hand motions (for example, making a buzzing motion while showing the letter “z” to reinforce the sound-symbol connection)
Each of these experiences activates more than one sense and helps reinforce phonics concepts in a way that sticks with students.
How to Incorporate Multi-Sensory Learning into Daily Phonics Routines
The previous section gave a big-picture view of common multi-sensory strategies. Now let’s look at how you might bring these into a small group setting without adding a lot of prep. Below is a simple 15–20 minute small group lesson for 1st grade that targets the r-controlled vowel -ir using multi-sensory tools and routines you may already have.
Warm-Up: Sound Review with Skywriting
Start with a quick review of known sounds, then introduce or reinforce the -ir pattern. Hold up letter cards (like b, d, g, and ir), have students say the sound, then skywrite each letter or chunk using big arm movements. For -ir, they can swirl their finger in the air like a bird flying to help link the motion to the word bird.
Word Building: Letter Tiles or Magnetic Letters
Use letter tiles to build r-controlled words like bird, dirt, and girl. Students place one tile at a time, tapping under each letter as they say the sound. Emphasize that i and r together make one sound: /ir/.
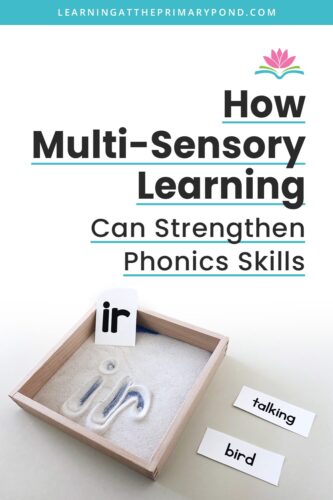
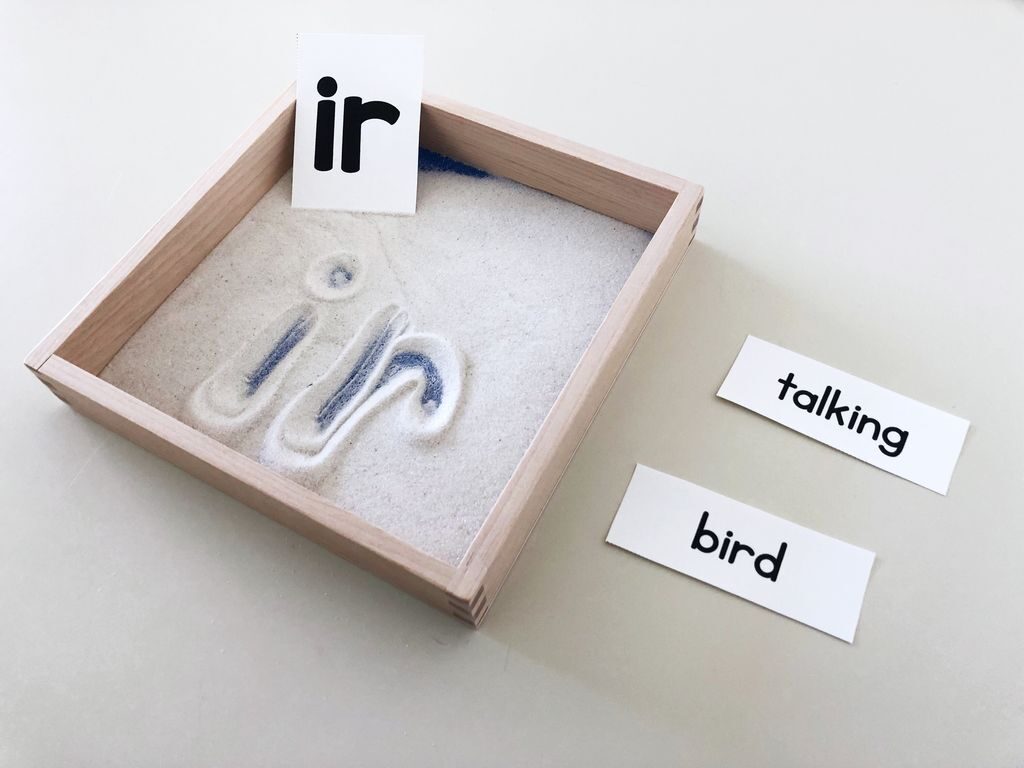
To make it tactile, let students trace the word in sand or write it with their finger on a textured surface after building it.
Reading Practice: Decodable Word List
Have students read a short list of -ir words aloud. Use finger tapping or a pointer to track each letter, reinforcing left-to-right movement. To help reinforce the sound, add a quick motion; for example, flap your arms like wings every time you read an -ir word.
Writing Practice: Word Dictation with Tactile Tools
Say an -ir word aloud (bird, girl, etc.). Students repeat it, tap the sounds on their fingers, then write the word on a whiteboard.
As they write, have them underline the ir and say, “I-R says /ir/.” For added sensory input, try having them write with their finger on bumpy paper or trace over their writing with a crayon.
Wrap-Up: Quick Review
End with a fast-paced review of -ir words. Call out a word, and have students skywrite it or use finger tapping to segment and blend the sounds aloud.
By using simple multi-sensory techniques, you can easily add visual, auditory, tactile, and kinesthetic elements to your existing phonics lessons. These small adjustments like using letter tiles or adding a hand motion can significantly boost student engagement and retention, making a big impact without adding extra prep time.
While movement and tactile tools are key, don’t forget the power of visual support. Visual anchors can make a big difference in helping students remember phonics patterns.
Need a Visual Anchor? Grab Free Phonics Posters
In addition to using movement and oral practice, visual anchors can make a big difference in helping students remember phonics patterns.
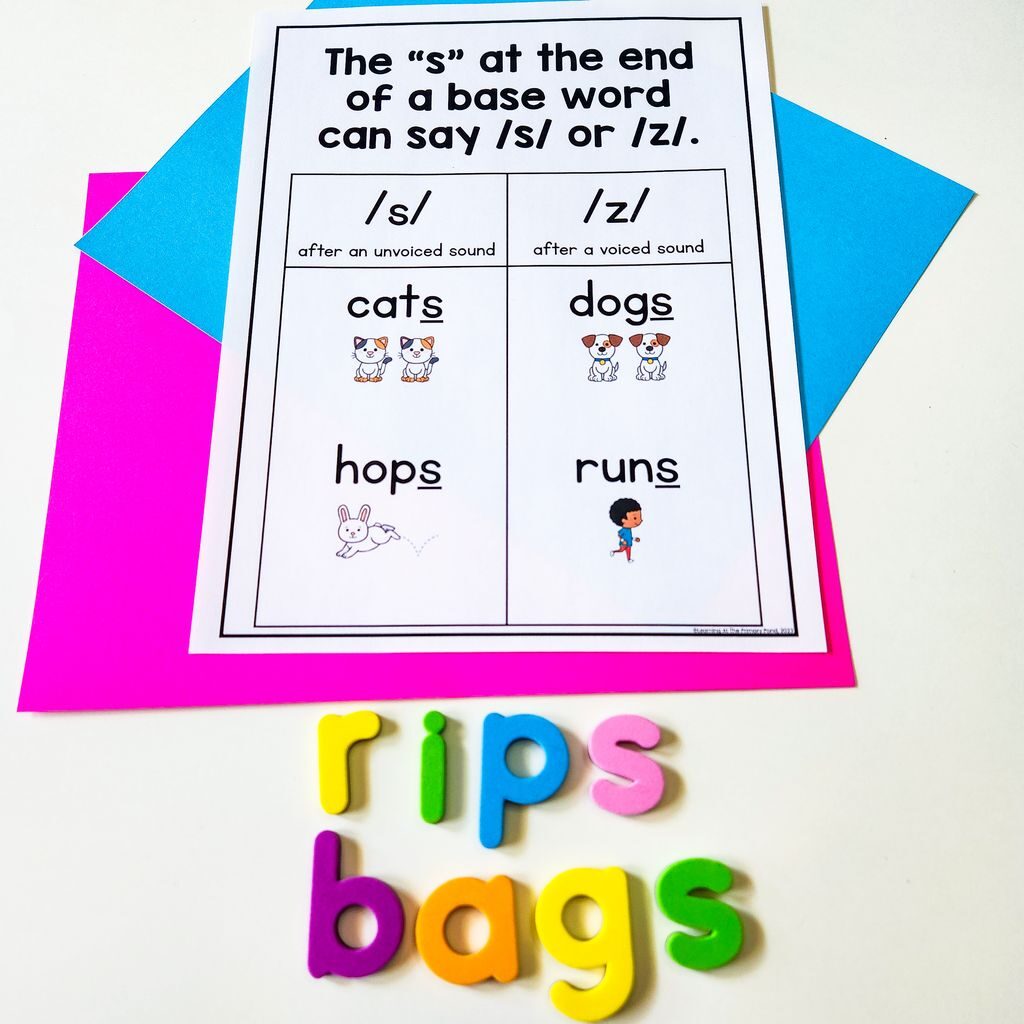
These free phonics posters are a great way to give students a clear, consistent reference for common sounds and spellings. You can display them on a word wall, in your small group area, or even send home a mini version for family support. They pair perfectly with multi-sensory routines and help reinforce key concepts throughout the day.
Over time, these simple additions can have a big impact on your students’ learning.
Try It Out: Free Slides for Multi-Sensory Phonics Practice
Ready to bring multi-sensory learning into your phonics block?
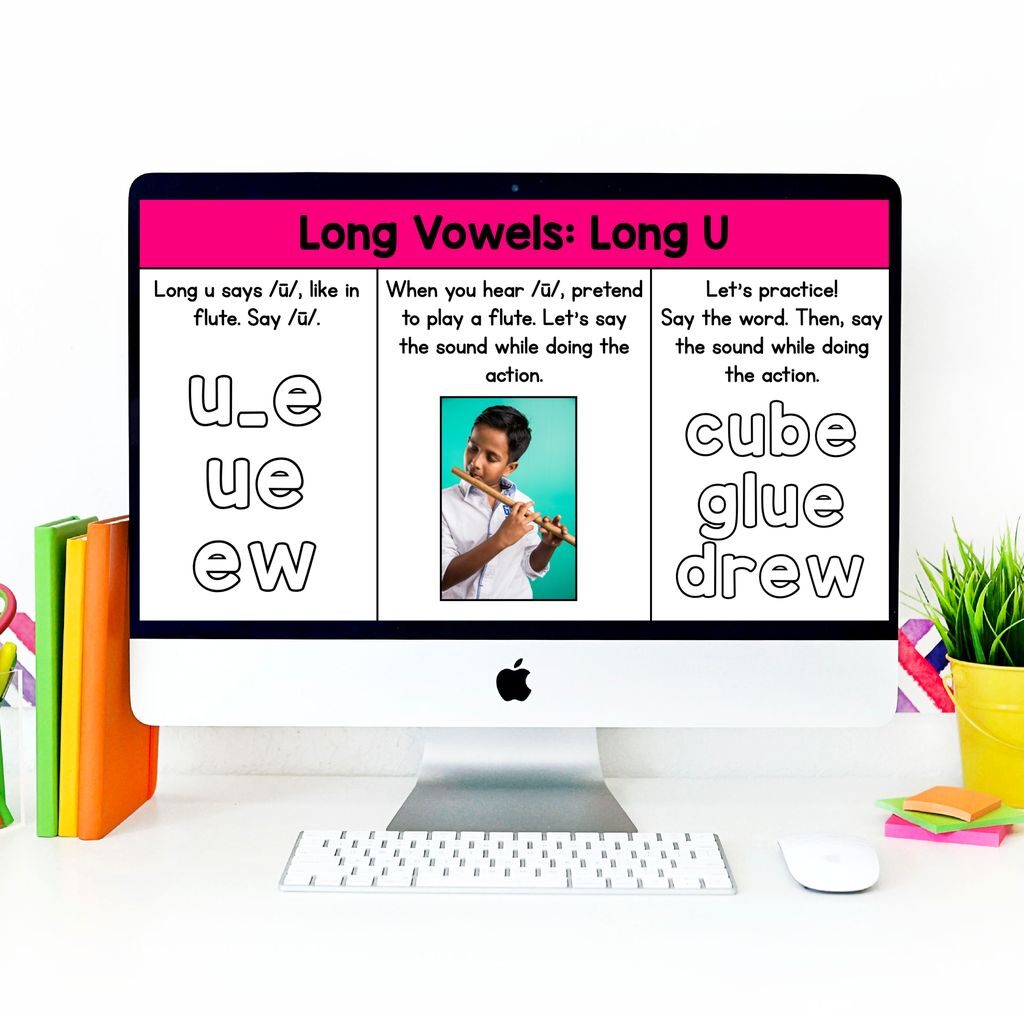
If you’re ready to start but want a completely prepped resource, the Phonics Patterns in Action Slides are a great place to start. These free slides support visual, auditory, and kinesthetic learning. They include:
- Engaging visuals
- Built-in oral practice
- Movement cues to make phonics practice more interactive
You can use them in a variety of settings:
- As a whole-class warm-up to start your phonics block
- During small-group instruction to reinforce patterns
- In intervention settings for extra practice and support
They’re flexible, easy to use, and completely free. Click here to download your slides and try them out this week!
Final Thoughts
Multi-sensory instruction can be a game-changer for teaching phonics. It helps students engage more fully with the content, remember what they’ve learned, and apply their skills more confidently.
Not sure where to begin? Try reviewing your phonics lesson plans and jot down how many senses are engaged. That reflection can help you spot an easy place to try something new.
If you’re new to this approach, start small. Pick one strategy or tool to try this week. Build from there, and you’ll start to see the difference in your students’ understanding and enthusiasm.
Happy Teaching!
References
- The Reading League. (2023). The Science of Reading: Defining Guide. The Reading League Journal.
- Hatch, S. (n.d.). Multisensory Teaching for Dyslexia. Dyslexia Center of Utah. Adapted from the International Dyslexia Association.